Richmond

Victorian Tiled Lobby Floor Cleaned and Sealed Richmond

Victorian Tiled Lobby Floor Renovated at Richmond Apartment Block

Pictured below is a large Victorian tiled floor in the lobby area of a residential apartment block in Richmond. Building work had been carried out at the property and the contractors had covered the floor using a used a sticky floor protector. Unfortunately, that left a sticky residue on top of the tiles and were overdue a professional deep clean. The floor was cleaned every day for the last eight years but this was done using a mop which isn’t the most effective method.

Victorian Tiled Lobby Floor Before Cleaning Richmond

I paid a visit to the property to work out the best product to remove the adhesive and measure up. From this I worked out a detailed quote for renovating the floor which included two days labour and all the products needed. This was accepted and a date scheduled.

Victorian Tiled Lobby Floor Before Cleaning Richmond

Cleaning a Victorian Tiled Hallway Floor

The hallway was in use by the residents whilst I was there so I had to carry out the following work in sections. To remove the adhesive and give the floor a deep clean the tiles were cleaned with the application of Acid Gel. Being a gel it’s much easier to control and with less water being needed it results in quicker drying times.

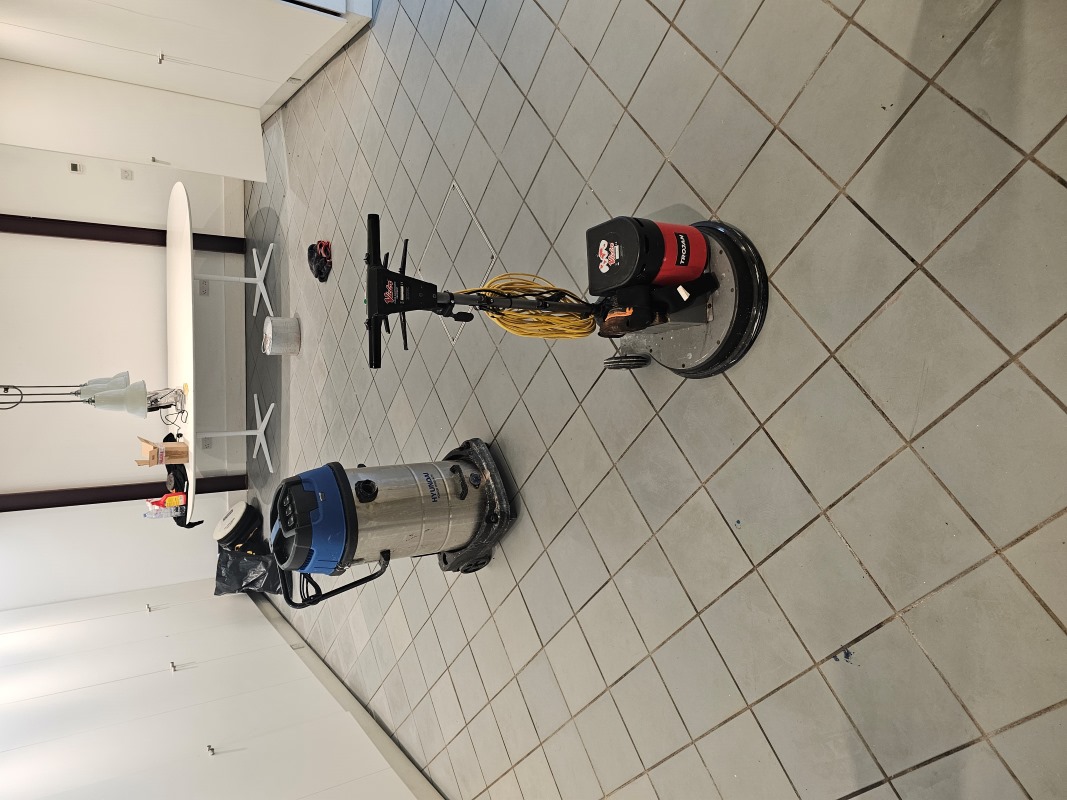
The gel was applied and let to soak in for fifteen minutes to give it time to digest the dirt etc, then the floor was lightly moped and I got to work with a scraper to remove as much sticky residue as possible. More Acid Gel was applied and then scrubbed into the tiles using a Victor Trojan buffing machine fitted with a 400-grit burnishing pad and extra weights. The machine was moved slowly across the tiles ensuring all areas where covered.

Victorian Tiled Lobby Floor During Cleaning Richmond

After completing a small section, the soiling was rinsed and extracted using an industrial wet vacuum. Vacuuming this frequently ensures the fluids had less time to soak into the tile and results in a faster drying time.

Once I had worked my way to the end the floor was vacuumed again and more Acid Gel was applied, this was diluted with a small amount of water and the deep cleaning continued with an 800-grit burnishing pad. As before after each section the floor was rinsed and the soiling immediately extracted with the wet vacuum. Once I was satisfied the floor was in a good condition it was given a final burnishing using a finer 1500-grit pad applied with water and then vacuumed one last time.

Once complete the tiles were clear of the sticky residue and looking very clean indeed. It needed to be completely dry before the next step of sealing so work finished for the day and the tiles were left to dry off completely overnight. It’s important to do this and allow time for all the moisture to evaporate, this way any issues like efflorescent salts will become apparent and resolved.

Sealing a Victorian Tiled Hallway Floor

I returned later the second day to seal the floor starting with several damp meter readings and a quick check of the tiles. Being a communal hallway I wanted to ensure they were still clean from the day before and any marks were spot cleaned.

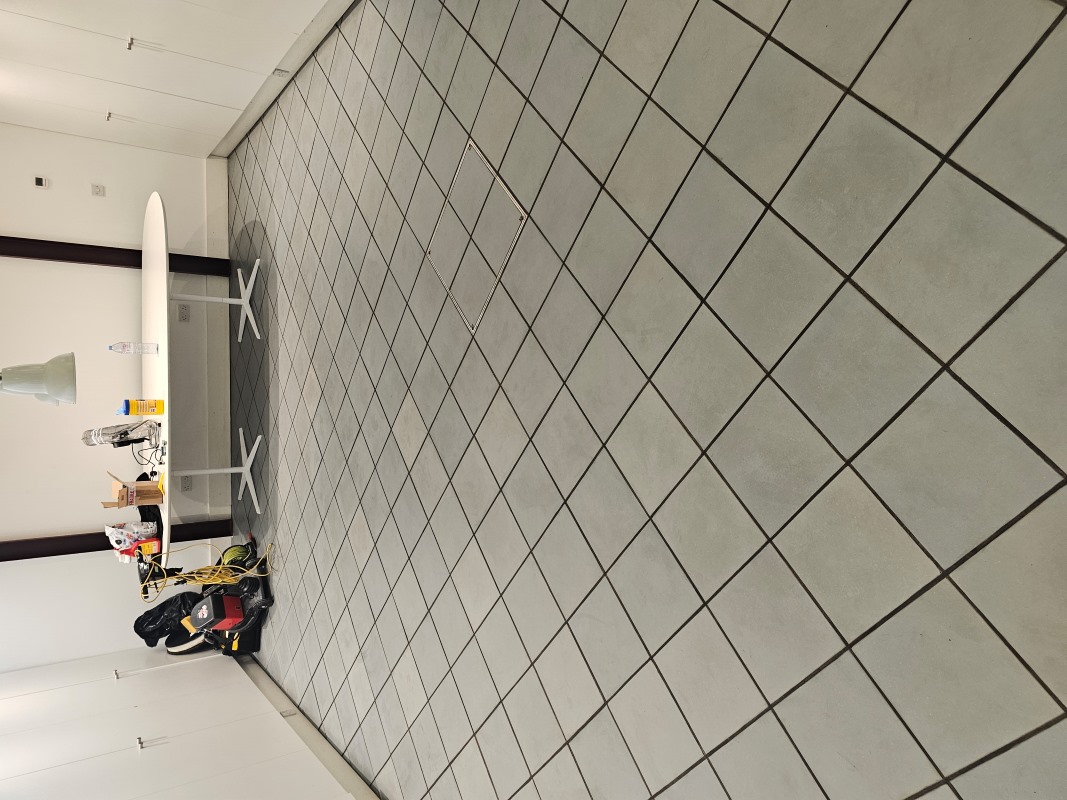
The floor was then sealed with Tile Doctor Colour Grow which is a colour enhancing hard wearing impregnating sealer that leaves a matt finish and deepens the colour of the black tiles. Three coats were applied using a microfiber cloth and then any excess was buffed with a clean cloth after each application.

Victorian Tiled Lobby Floor After Cleaning Sealing Richmond

Once satisfied I called the managing agent to have a look and they reported that they were extremely happy with the result. In fact, they have since requested that I return every month to maintain the floor correctly and ensure it remains in top condition.


Professional Renovation of a Victorian Tiled Lobby Floor in Southwest London

Victorian Tiled Lobby Floor Renovated at Richmond Apartment Block Read More »
Ceramic Tile and Grout Renovation Richmond

Colour Restored to Black Grout on a Ceramic Tiled Floor in Richmond

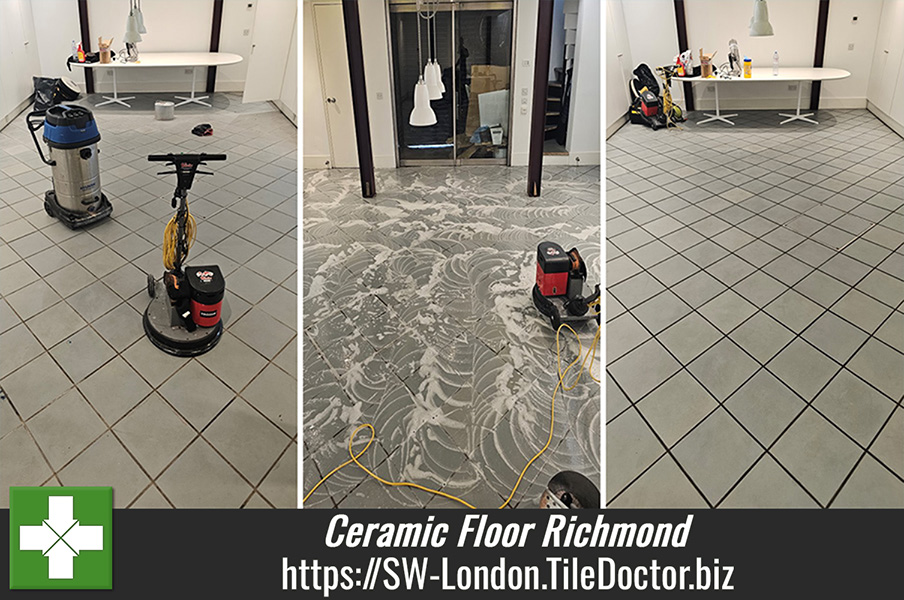
This customer from Richmond called Tile Doctor due to see what could be done to improve the Grout on their Ceramic tiled floor which had been installed throughout the ground floor. Having previously called in a cleaning company to deep clean the tile and grout it now needed remedial work to restore the appearance of the grout. The grout had originally been painted black and this had been badly scrapped by the cleaning company leaving it in a bad state, also he felt the tiles could had not been cleaned properly either.

Having visited the property to survey the floor I was able to reassure the customer that the Grout could be restored and discussed the benefits of the Tile Doctor Grout Colourants. These colourants are made from epoxy and are much more hard wearing than the paint-based product which we usually only recommend for touching up.

Ceramic Tile and Grout Floor Before Cleaning Richmond Ceramic Tile and Grout Bathroom Floor Before Cleaning Richmond

I worked out a quote for deep cleaning the tiles and colouring the grout with a black colourant to restore the appearance of the floor. After reviewing and answering any questions they quote was accepted and a date scheduled.

Deep Cleaning a Ceramic Floor Tiles

I started off by checking the whole floor for missing grout and then raking out the problem areas and re-filling using a fast-drying black grout.

Attention then turned to deep cleaning the Ceramic floor tiles starting with the application of a medium dilution of Tile Doctor Pro-Clean. This was left mopped onto the floor and then left for ten minutes before being worked into the tiles using a Victor Trojan floor buffer fitted with a Black scrubbing pad. The pad is run over each tile several times moving slowly with small circles to ensure the floor was getting a good scrub and I was getting everything off.

Ceramic Tile and Grout Floor During Cleaning Richmond

There was also a small toilet area to be done which was too small for the Victor machine so and I did this using the same process but with a handheld Dewalt polisher fitted with with a 6-inch black scrubbing pad. Once an area had been scrubbed it was rinsed with water and then all the liquids extracted using an industrial wet vacuum.

Once the floor was cleaned work started on epoxy sealing the grout using Tile Doctor Black epoxy grout colourant, this not only seals the grout but also gives everything a uniformed colour the whole way through. I didn’t need to wire brush and clean the grout on this occasion as the grout had already been cleaned earlier.

In total It took three coats of Black grout colourant to achieve the desired effect and nine hours of hard work on my hands and knees.

Ceramic Tile and Grout Bathroom Floor After Renovation Richmond Ceramic Tile and Grout Floor After Cleaning Richmond

When finished the Ceramic tiled floor was cleaner, the black grout had been restored and my customer was very happy and requested I return to renovate two bathrooms. For aftercare cleaning I recommended they use Tile Doctor Neutral Cleaner which is a mild yet effective product.


Ceramic Tile and Grout Colour Restoration in South London

Colour Restored to Black Grout on a Ceramic Tiled Floor in Richmond Read More »

Terracotta Tiled Utility Floor Renovation Richmond-upon-Thames

Terracotta Tiled Utility Room Floor Deep Cleaned and Sealed in Richmond

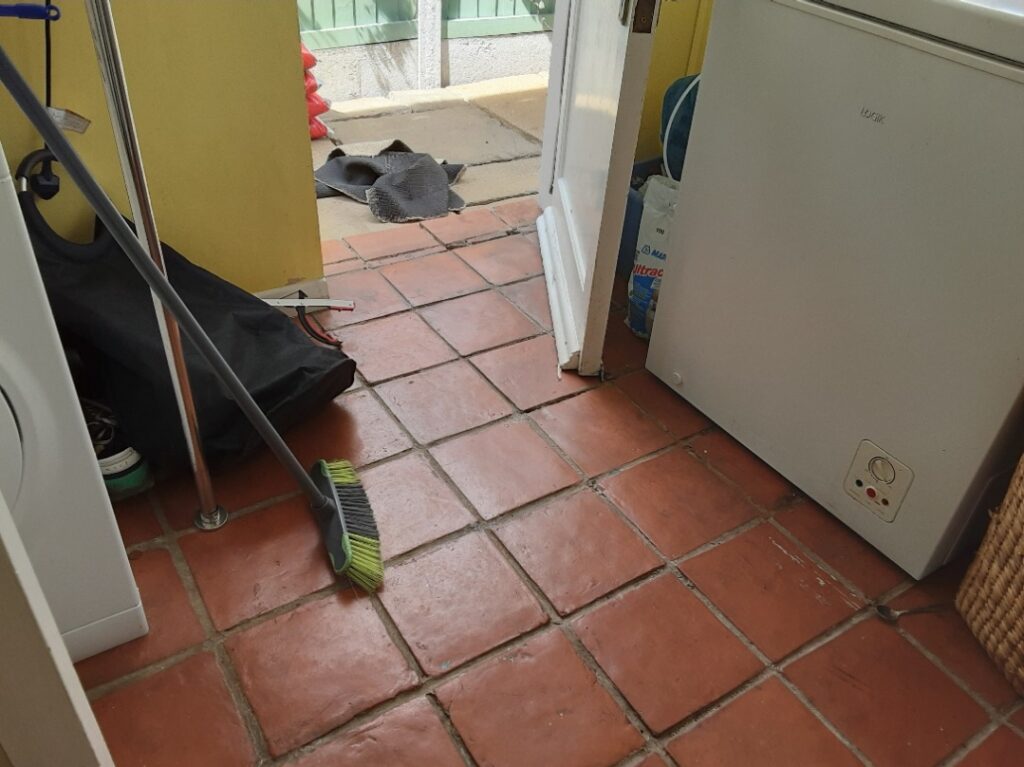
These are terracotta tiles installed 28 years ago in the utility room of a property in Richmond KT2. A new owner moved into the property a year ago and were going to pull the tiles up to replace with vinyl. They assumed the tiles were too far gone for restoration but decided to give me a call first to see if there was anything that could be done.

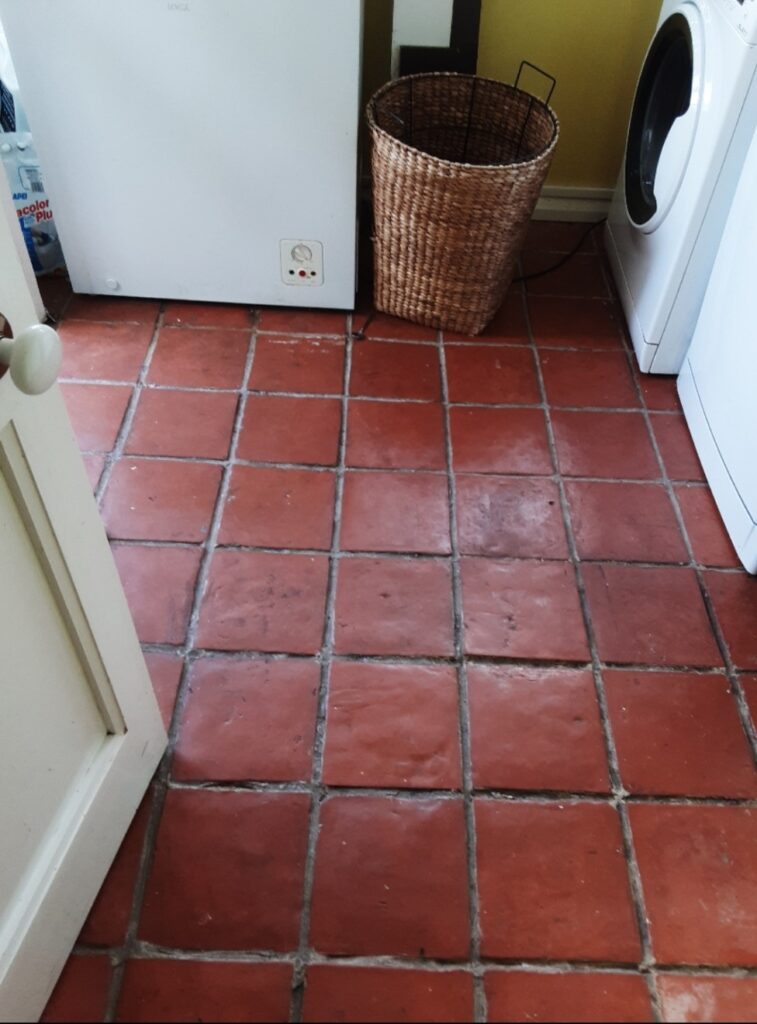
Terracotta Tiled Utility Floor Before Cleaning Richmond

I visited the property and conducted some tests and established that we could in fact work with the tiles. They were dark with dirt, but I was confident they would come up really well and provided the owners with a quote to deep clean the tiles and then re-seal to protect them.

Terracotta Tiled Utility Floor Before Cleaning Richmond

Deep Cleaning a Terracotta Tiled Utility Floor

The work began by deep cleaning the tiles and removing what was left of the original sealer. It was clear from the start that multiple coats of a protective coating of some kind had been applied and as this broke down with use, dirt had become deeply ingrained into this sealer and not the tile. Deep cleaning of the tiles could only commence once this coating was gone so I started by mopping Tile Doctor Remove and Go stripper diluted with water onto the floor and leaving it to soak in for fifteen minutes. The solution was then agitated with a brush and and the process repeated several times.

It was a small area, so a DeWalt handheld rotary machine fitted with an 80-grit carbide brush was then used to scrub the floor in an attempt to take the sealer off. I soon realised that due to the numerous coats that had been applied the process would need repeating several times. Each application and scrub improving the state of the tiles gradually giving me confidence that I was in fact on the right path.

Once the sealer had been removed, I decided to use Tile Doctor Heavy Build-Up Remover to help with the cleaning process. This was applied to the Terracotta and Grout and then left to soak in for twenty minutes before scrubbing the floor with the Dewalt machine fitted with the carbide brush. The resultant slurry was vacuumed away with a Hyundai wet vacuum. The work was done this way in small sections to ensure the Terracotta was as clean as possible.

Once I was satisfied, the tile and grout was cleaned to its best possible condition the floor was given an acid rinse using Tile Doctor Grout Clean-up. The acid in this product does several things including dissolving any salts that may be in the tiles, further cleaning up the tiles and neutralising the PH level of the floor following the use of alkaline cleaners. After being brushed into the tiles and left for five minutes the solution was removed with the wet vacuum and the floor mopped lightly with clean water.

Terracotta is made of clay, which is very porous, so I decided it was best to leave the floor over the weekend to dry out. This allows for any water vapour to completely evaporate before sealing and allowed time for any remaining salt issues to appear so they could be dealt with before sealing.

Sealing a Terracotta Tiled Utility

On my return, I sealed the floor using Tile Doctor Seal and Go Extra and a paint pad, it took four applications of the sealer before I achieved the correct level and resulted in a fully sealed surface.

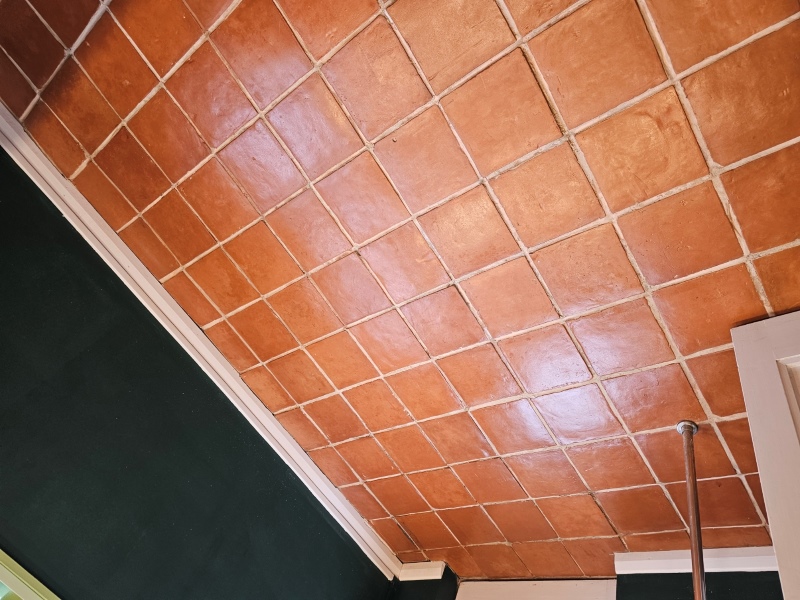
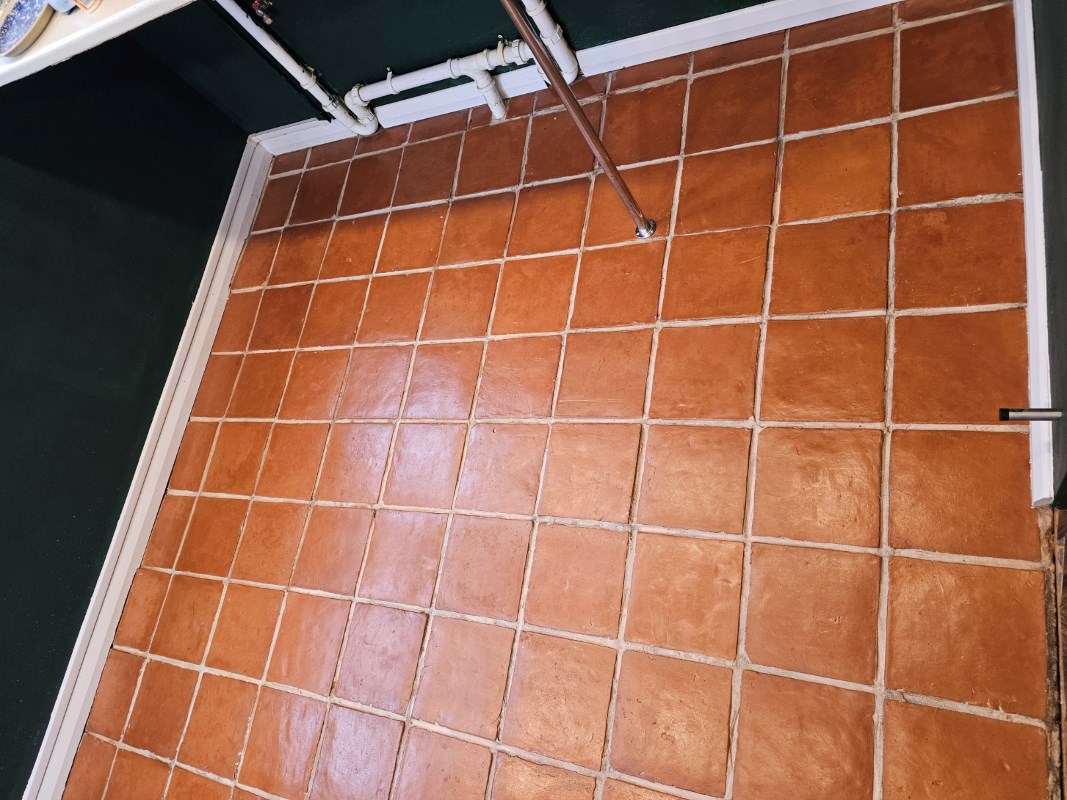
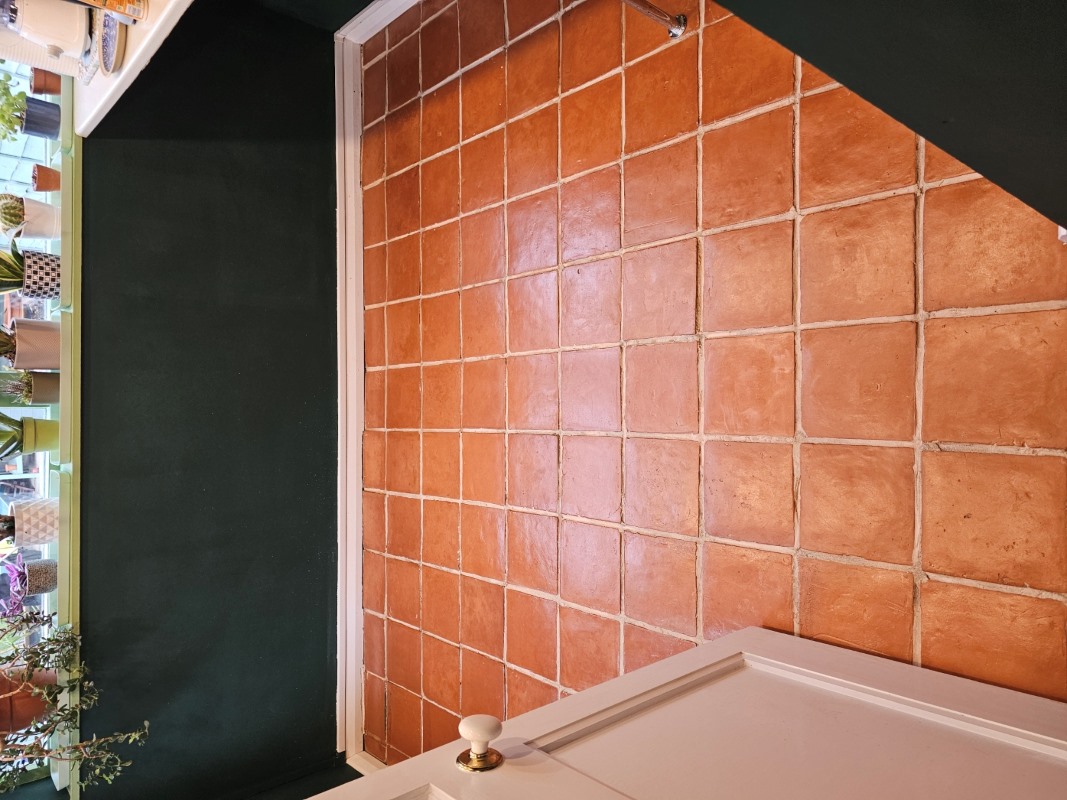
Terracotta Tiled Utility Floor After Renovation Richmond

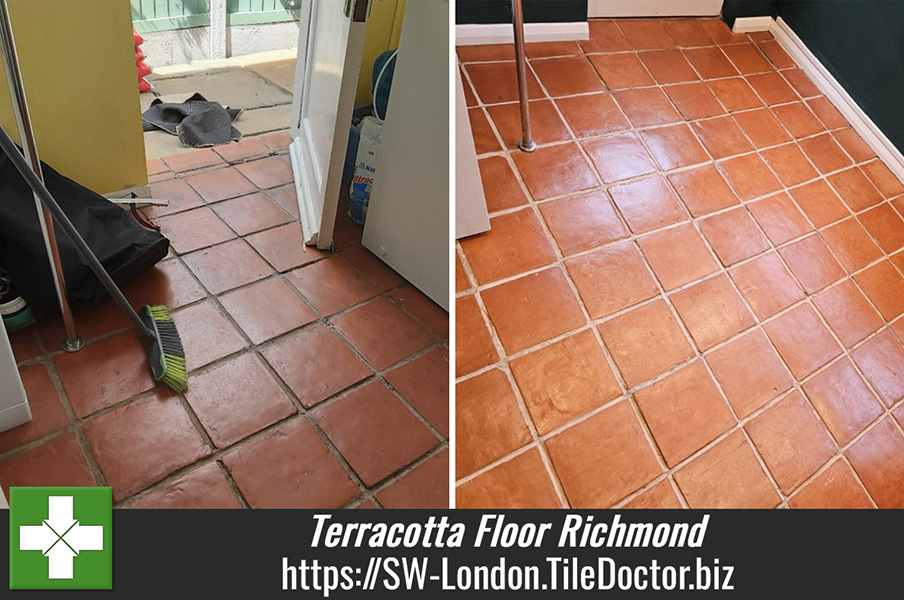
The result was a completely transformed floor; the dark and dirty red colour had gone and was replaced with a fresh orange Terracotta. My client was delighted with the result and left the following feedback:

Daniels standard of work is outstanding. Our tiles came out better than we ever imagined. He arrived on time and was very professional and explained the complete process. He was also very tidy. I would not hesitate to use him again and would thoroughly recommend him.

Terracotta Tiled Utility Floor After Renovation Richmond Terracotta Tiled Utility Floor After Renovation Richmond

Before leaving I took time to explain the importance of using Tile Doctor Neutral Tile Cleaner to maintain the floor going forward. This is a mild but effective Tile and Grout cleaner that won’t impact the sealer.


Professional Restoration of a Terracotta Tiled Utility Floor in Southwest London

Terracotta Tiled Utility Room Floor Deep Cleaned and Sealed in Richmond Read More »

Terracotta Tiled Kitchen Floor Renovation Richmond

Deep Cleaning a Filthy Terracotta Tiled floor in Richmond

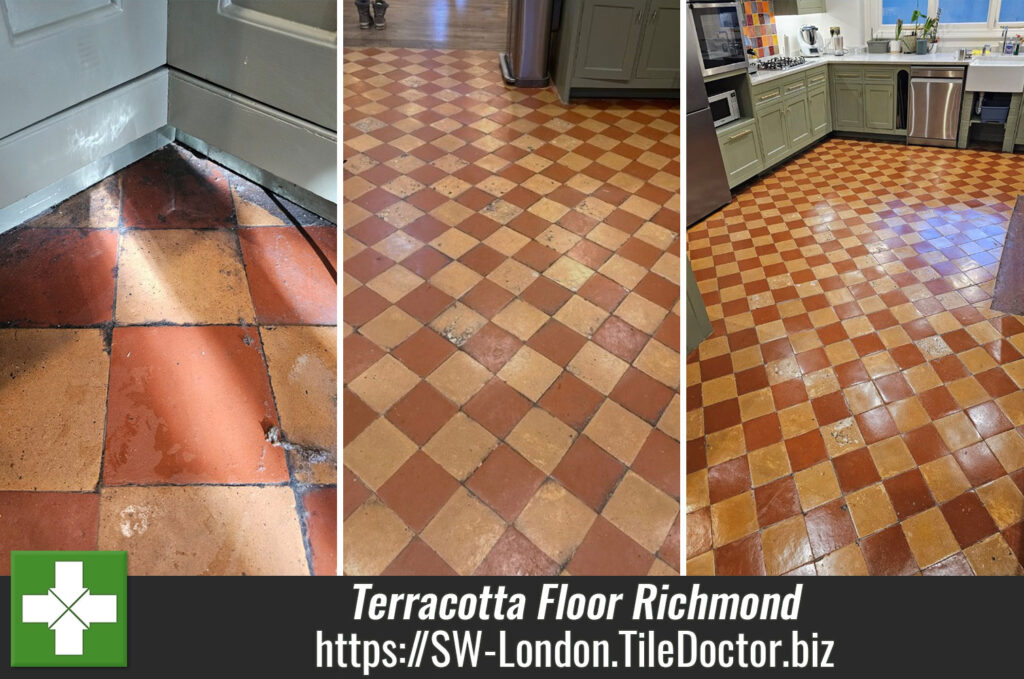
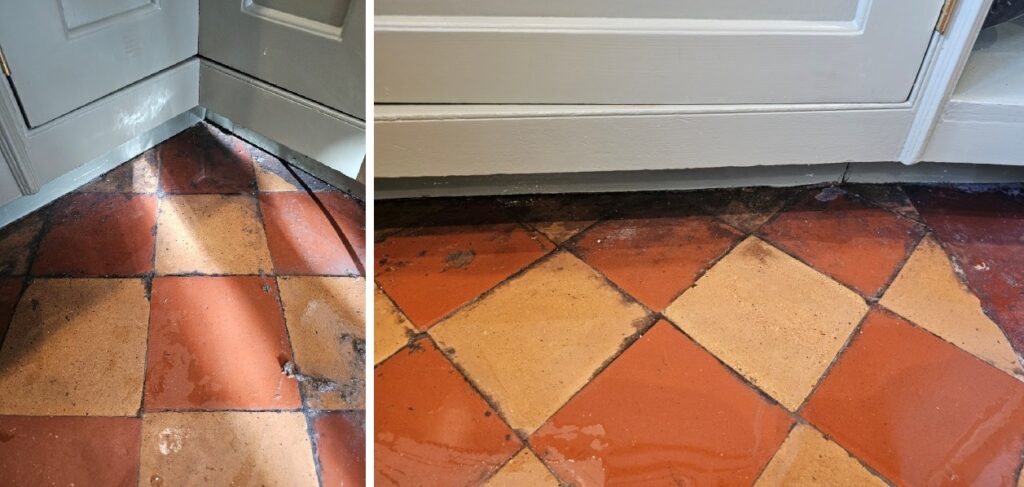
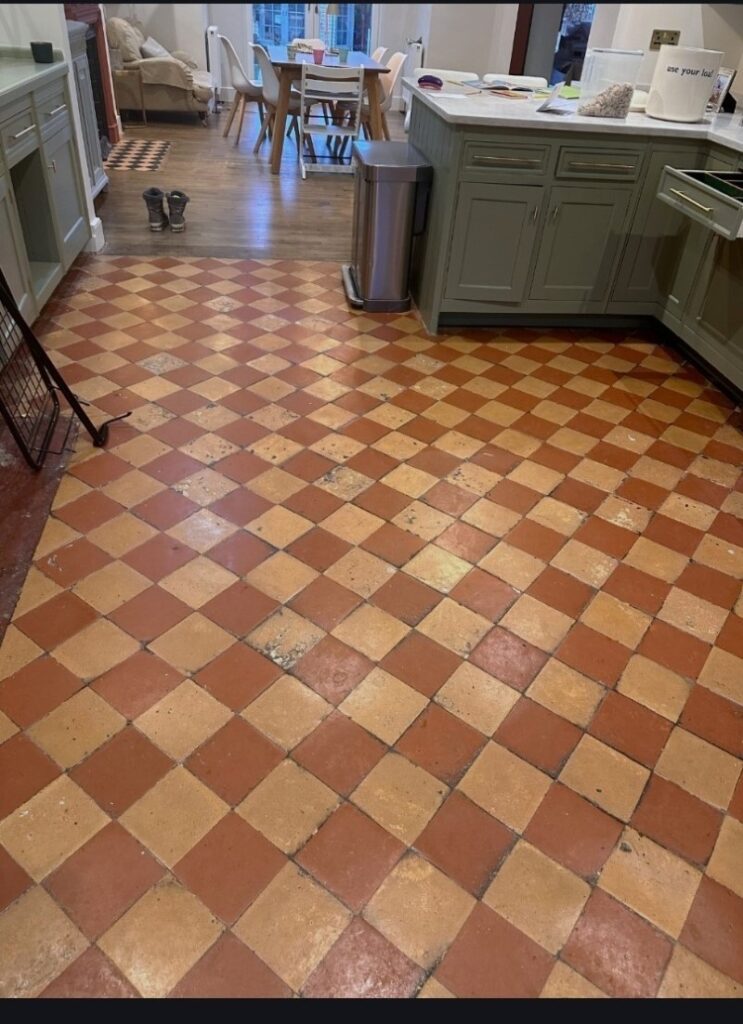
This Orange and Red Terracotta tiled floor at property near Richmond was absolutely filthy and proved to be a real challenge to get clean. It clearly hadn’t been professionally cleaned for some time and when I went to do the survey, I could see a build-up of grease and old sealer throughout.

Due to its porosity Terracotta is particularly vulnerable and to keep its appearance the sealer needs to be maintained correctly as it will wear in the busiest areas with use. In this case I was able to re-assure the homeowner that I would be able to strip off all the old layers of sealer, deep clean the tiles and re-seal to leave it looking like a new floor.

Terracotta Tiled Kitchen Floor Before Cleaning Richmond

Happy with my quote I got the go-ahead and we agreed a date to start the work which should take two days, one to strip and clean and the other to seal.

Removing Sealer and Cleaning a Terracotta Tiled Kitchen Floor

To strip the sealer off the Terracotta floor I applied a strong dilution of Tile Doctor Remove and Go which is a powerful alkaline coatings remover that’s safe to use on Tile and Stone. The solution was sprayed on to the kitchen floor and then left to soak in for fifteen minutes to give it time to break down the sealer and soils.

I then inspected the floor and could see a lot more work would be needed to get it completely free of old sealer and dirt. As a result, there was nothing for it but to get down on my knees scrapping everything off the tiles with more Remove and Go. I found most of the old sealer and grease just flaked off but some areas were difficult. I had some assistance from a DeWalt handheld buffing machine fitted with a stiff brush but it was still very hard work, especially around the edges of the kitchen as my hands barely fit underneath the units.

After about six hours I was satisfied everything was removed and I could turn my attention to the grout. For this I hand scrubbed the grout lines using a strong dilution of Tile Doctor Pro-Clean rinsing and extracting as I went.

Terracotta Tiled Kitchen Floor During Renovation Richmond

Last step in the cleaning process was to treat the tiles to an acid wash which will further clean the tiles and equalise the floors pH level after the use of alkaline cleaners earlier. I used Tile Doctor Grout Clean-Up for this which was first scrubbed in, then rinsed with water and extracted as before. The floor was rinsed down again two more times with water to remove any trace of product. I used the wet vacuum used to extract as much moisture from the floor as possible so it can have a better chance of drying out overnight.

Sealing a Terracotta Tiled Kitchen Floor

When I called back seal the Terracotta, I first checked the moisture readings in several areas with a damp meter to verify the floor was nice and dry. All was well so several coats of a Tile Doctor Seal and Go Extra were applied to the floor allowing forty minutes drying time between coats.

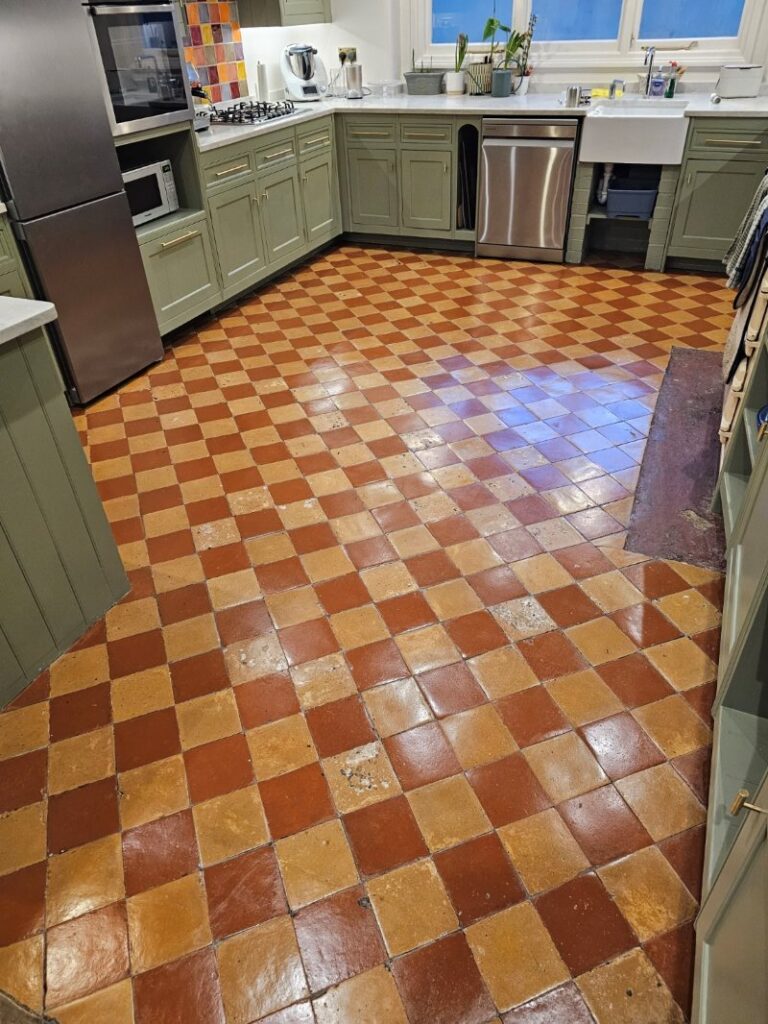
The new sealer left the now clean Terracotta tiles with an attractive mid satin finish and
looked fantastic and was doubly improved by the grout cleaning which had responded well to the Pro-Clean. The customer was very pleased with the transformation in their floor which now looked clean and bright.

Terracotta Tiled Kitchen Floor After Renovation Richmond

Before leaving we left the customer with a bottle of Tile Doctor Neutral cleaner for aftercare. To get the best from their Terracotta tiles it’s important that customers use the correct product for regular maintenance cleaning from the start, stronger products will reduce the life of the sealer.


Professional Clean and Seal of a Mexican Terracotta Tiled Kitchen in South London

Deep Cleaning a Filthy Terracotta Tiled floor in Richmond Read More »

╳
Scroll to Top