Grout Revamp of a Ceramic Tiled Bathroom Floor in Isleworth
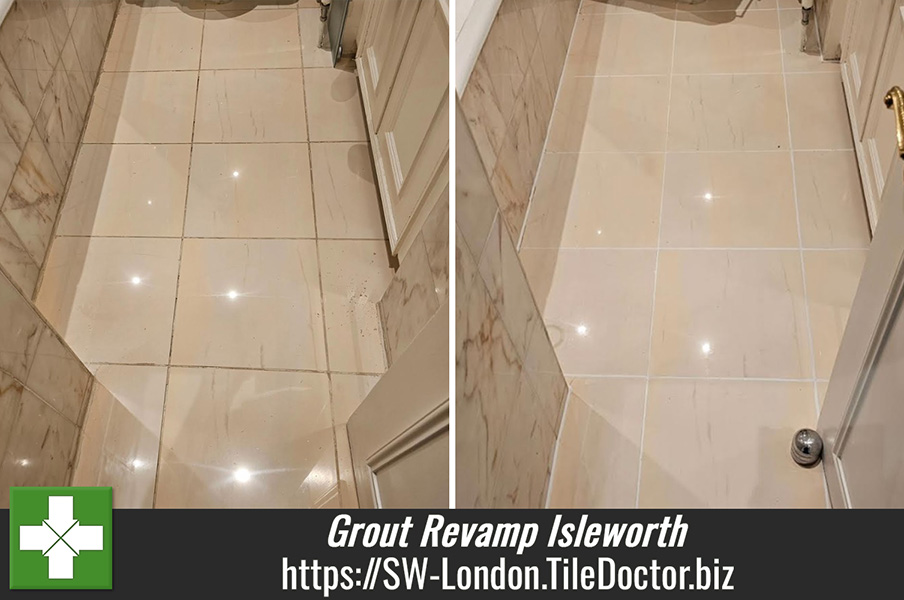
The Grout on this bathroom floor at a property in Isleworth was in quite a state and was bringing down the overall look of the bathroom. Ceramic tiles are impermeable so very easy to clean so although I would include giving them a thorough clean, I knew it was the grout that would be the most work.

After taking a look, I realised that the staining was so deep cleaning wouldn’t give a consistent look so immediately recommended colouring the grout and replacing the tired silicone sealant all of which could be done in a day. Happy with my suggestion I worked out a quote which was accepted and a date agreed.
Deep Cleaning Grout on a Ceramic Tiled Floor
To start the grout was given a scrub using pre-treat cleaner, it’s comes in a spray bottle so it’s very easy to apply. It’s an effective ready-to-use cleaner designed to clean and lightly etch the grout to achieve a superior bond with the colourant which would come next.
As part of the cleaning, I also gave the ceramic tiles a light scrub with Tile Doctor Pro-Clean which is an alkaline Tile and Grout cleaning solution. The bathroom floor was a small area so this work was carried out by hand using a scrubbing brush. Once done the floor was rinsed with water and the soiling extracted with a wet vacuum until as dry as possible.
The next step was to strip out the silicone sealant between the tile and verticals; this is done using a sharp knife until all the remnants of silicone are removed. With that completed work moved on to colouring using a bottle of Tile Doctor Grout Colourant in White. The colourant is painted onto the grout line using a small brush and any excess wiped off the tile afterwards. Two coats of colourant were needed to achieve a consistent appearance.
To finish fresh anti-mould silicone sealant in White was applied between the floor tiles and vertical surfaces.

Once complete the bathroom looked fresh and crisp giving the impression of a new installation. For aftercare cleaning I like to recommend Tile Doctor Neutral Tile Cleaner along with a two-chamber mop and bucket that can keep clean and dirty water separate.
Professional Cleaning of Ceramic Tile and Grout in South London
Grout Revamp of a Ceramic Tiled Bathroom Floor in Isleworth Read More »