Pro-Clean

Limestone Floor Polishing Surbiton

Large Limestone Floor Cleaned, Polished and Sealed in Surbiton

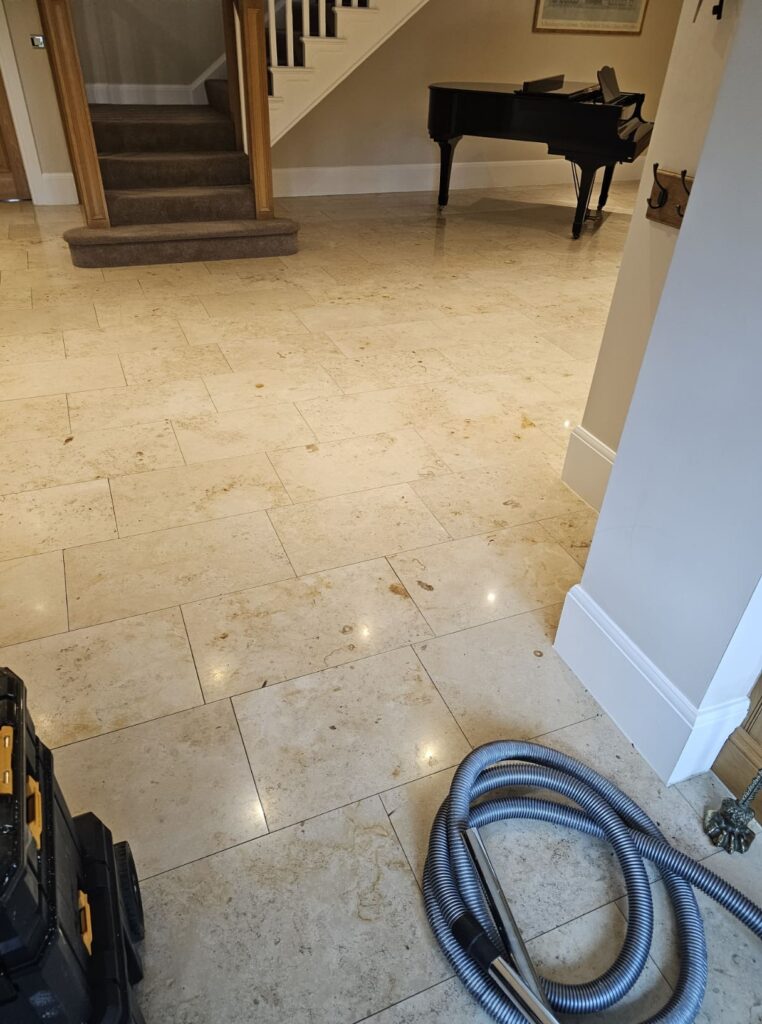
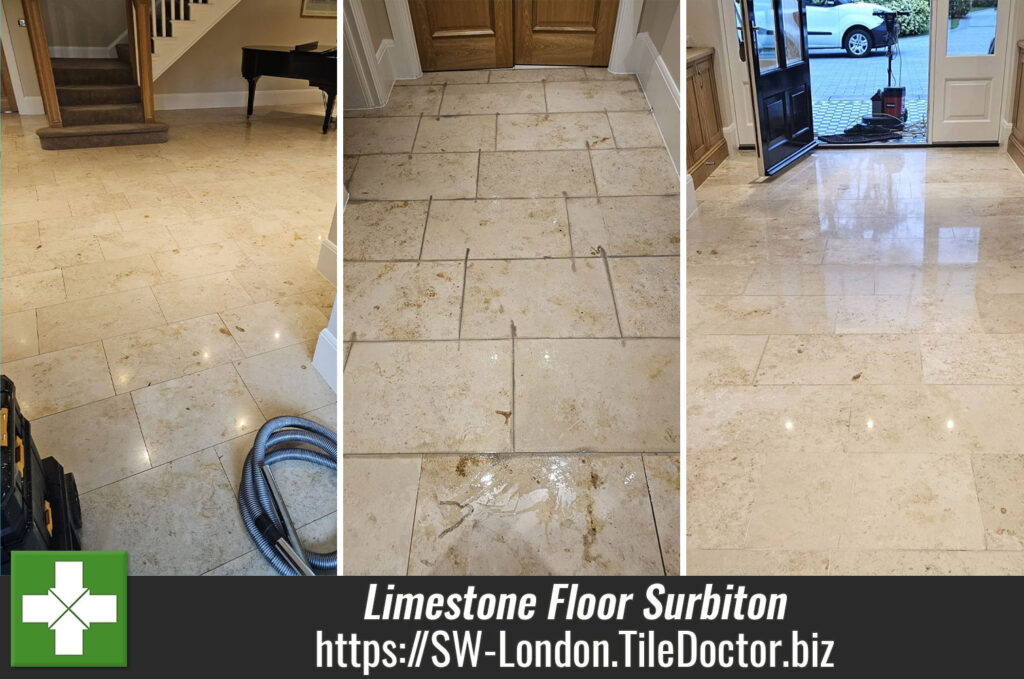
This large Limestone tiled floor at a property in Surbiton had been recently maintained by a cleaning company who didn’t do a thorough job. They hadn’t done anything to improve the polish on the Limestone and unfortunately stripped off the original sealer during cleaning leaving it vulnerable to ingrained dirt.
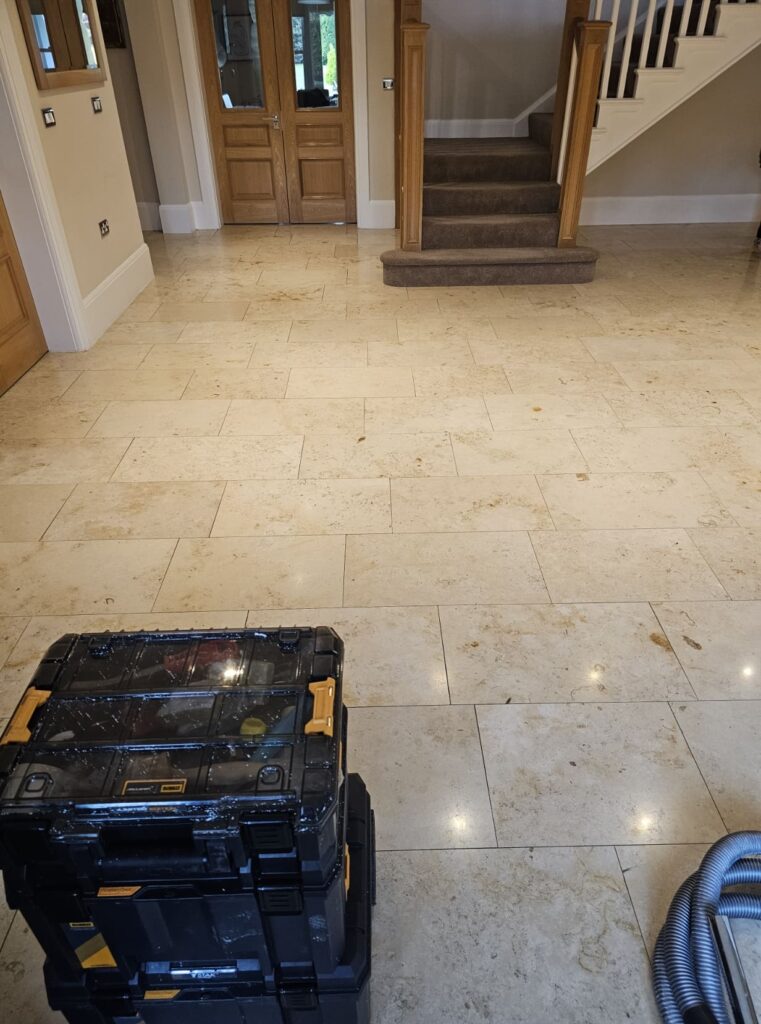
Limestone Floor Before Cleaning Surbiton Limestone Floor Before Cleaning Surbiton

The stone floor now looked very flat and lifeless and I was asked to do the job properly, including deep cleaning the grout, polishing the stone and finally replacing the sealer.

Stripping and Polishing Tumbled Limestone Tiles

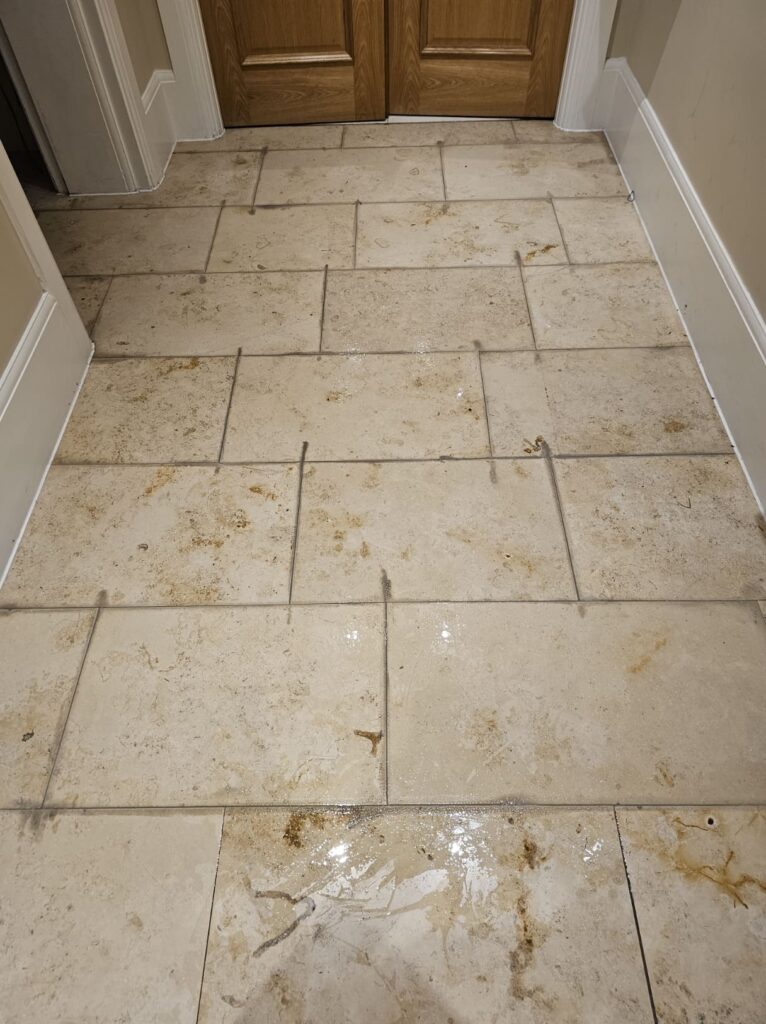
I started work by focusing on the grout which had become darkened with dirt. For this I applied a strong dilution of Tile Doctor Pro-Clean along the grout lines, left it to soak in for a few minutes and then worked it in with a wire brush. This process turned the grout from Black back to White and the dirt was rinsed off with water and extracted with a wet vacuum.
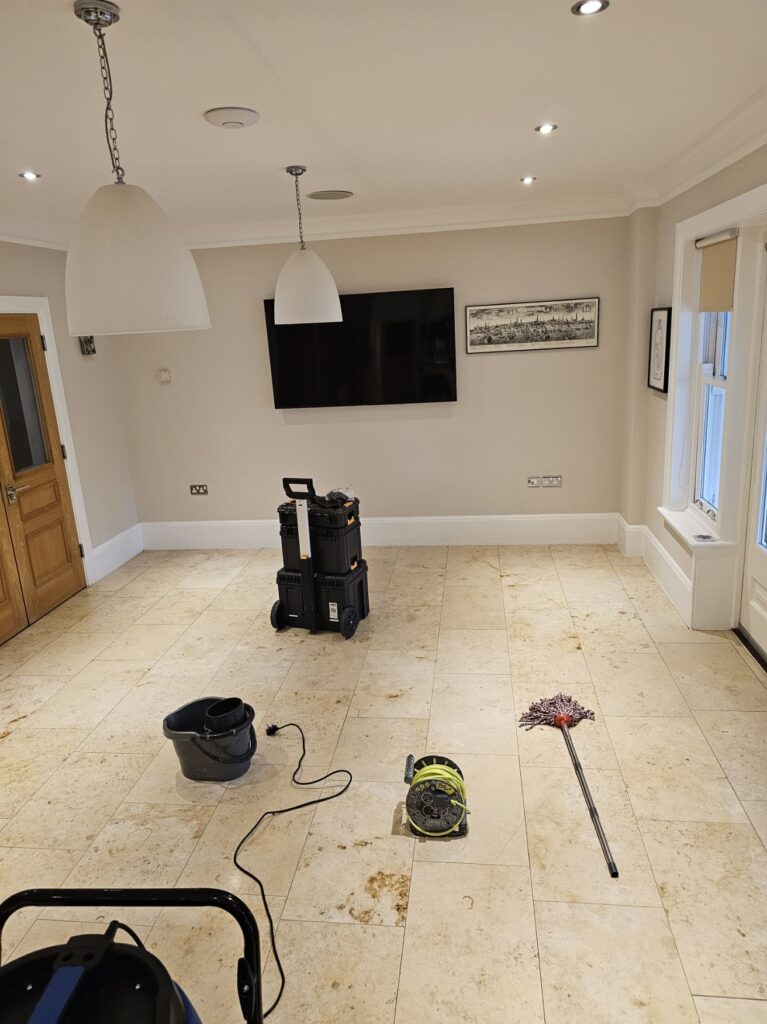
Limestone Floor During Cleaning Surbiton Limestone Floor During Grout Cleaning Surbiton

The next step was to burnish the stone using a set of Diamond encrusted pads of increasing grits that range from a coarse 400-grit to a very fine 3000-grit. The pads are fitted to the rotary machine and are run across the whole floor lubricating with water which darkens as the dirt is lifted out of the stone. Each pad is moved slowly across the floor with the machine leaving small rings on each pass. The floor is then rinsed and all the slurry with a wet vacuum after each pad.

It was a large floor that extended from the hallway into the Kitchen so it took some time to cover every section thoroughly. I stopped one the 1500-grit pad had been applied and after another rinse and extraction left the floor to dry off overnight.

Sealing Limestone Tiles

I returned the next morning and set about sealing the floor with Tile Doctor Ultra-Seal which is an impregnating natural look sealer that soaks into the pores of the Limestone protecting it from within. The sealer will ensure any dirt remains on the surface where it can be easily cleaned away.

I left the sealer to dry for an hour before polishing the floor with the last in the set of burnishing pads which is a 3000-grit pad. I covered every angle of light to make sure I’d left no smudges anywhere. This pad is applied with only a little water sprayed on to the stone as its run over the surface, this technique is known as a spray burnish and leaves the floor dry.
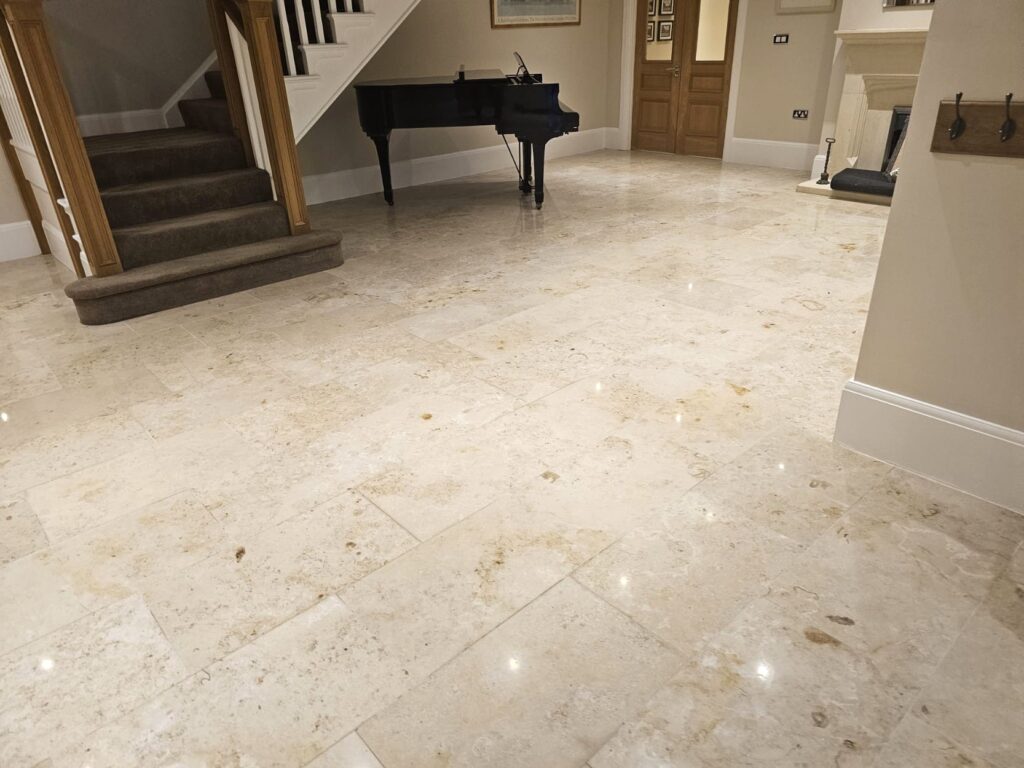
Limestone Floor After Polishing Surbiton

Before leaving I took time to discuss aftercare cleaning which for polished stone floors, I recommend Tile Doctor Stone Soap which not only cleans but also help maintain the patina on polished stone.
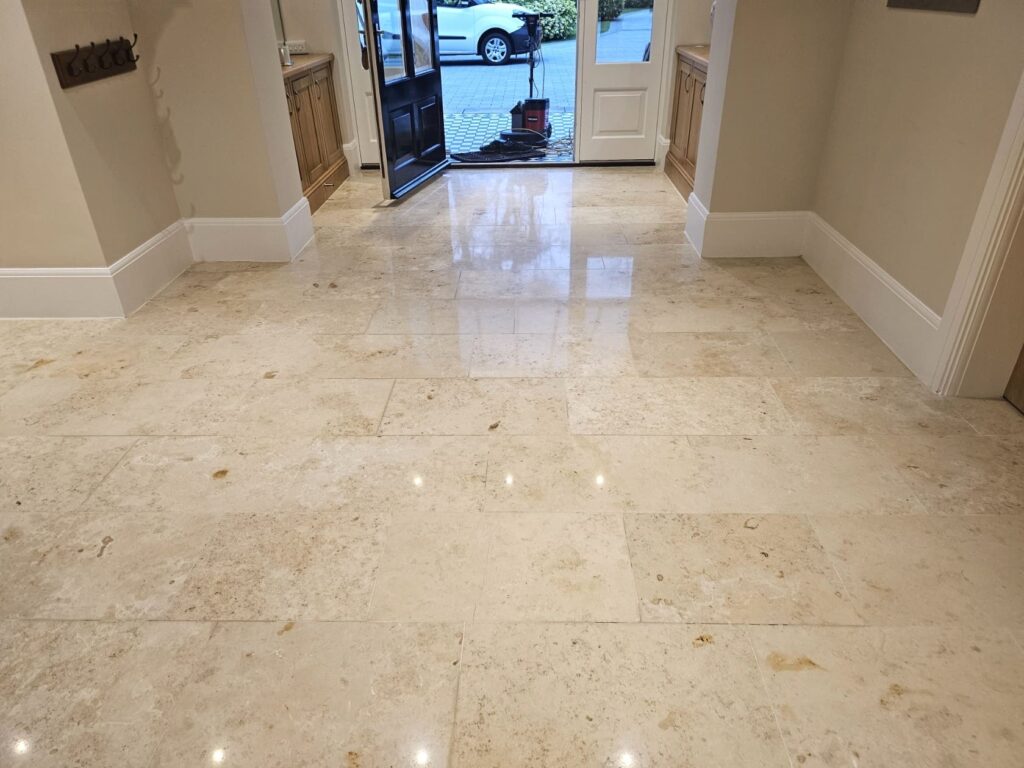
Limestone Floor After Polishing Surbiton


Professional Renovation of a Large Polished Limestone Floor in South London

Large Limestone Floor Cleaned, Polished and Sealed in Surbiton Read More »
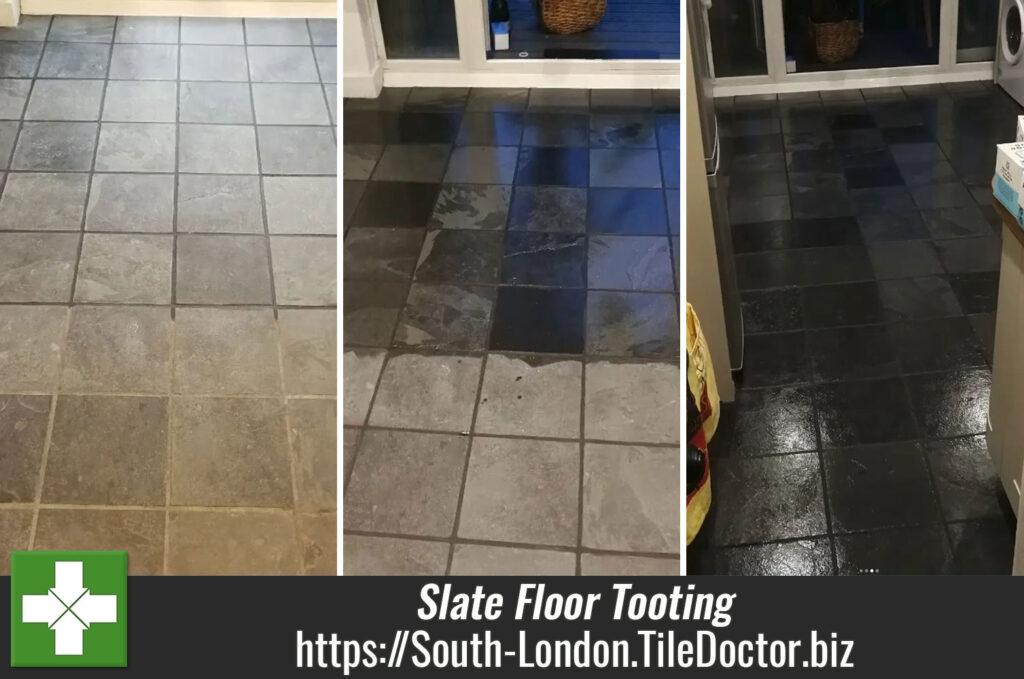
Black Slate Kitchen Floor Renovation Tooting

Black Slate Tiled Kitchen Floor Renovated in Tooting

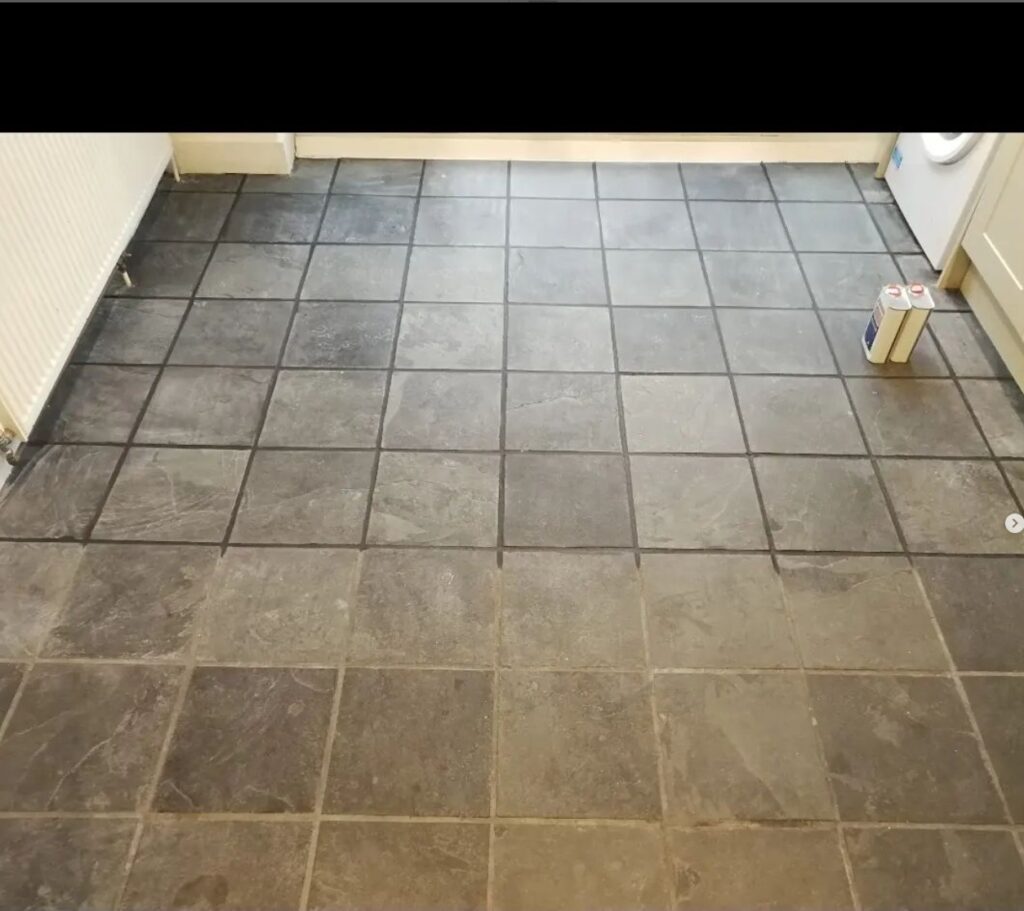
The photos below are of a Black Slate Kitchen floor at a property in Tooting SW17, which as you can see had lost all its colour and character. I went over to survey the floor and discussed a renovation plan with the owner.

One of the problems was the grout which like the tile hadn’t faired very well over the years and being in the Kitchen was subject to staining. I explained that like all stone floors the Slate needed to be sealed in order to keep the dirt out of its pores and keep it looking its best. Sealers however wear down with use and in this case the floor hadn’t been deep cleaned and sealed for some time.

I costed out a renovation plan which included deep cleaning the Slate tile removing any remaining sealer in the process, renovating the grout, and then re-sealing the whole floor to bring back the appearance of the stone and protect it going forward. Happy with the quote we agreed a date to start the work.

Deep Cleaning a Natural Black Slate Tiled Kitchen Floor

Normally I would use a Tile Doctor product called Remove and Go to remove the sealer, however in this case testing had shown that what was left of the sealer could be removed with Pro-Clean which is also our go to Tile and Grout Cleaner.

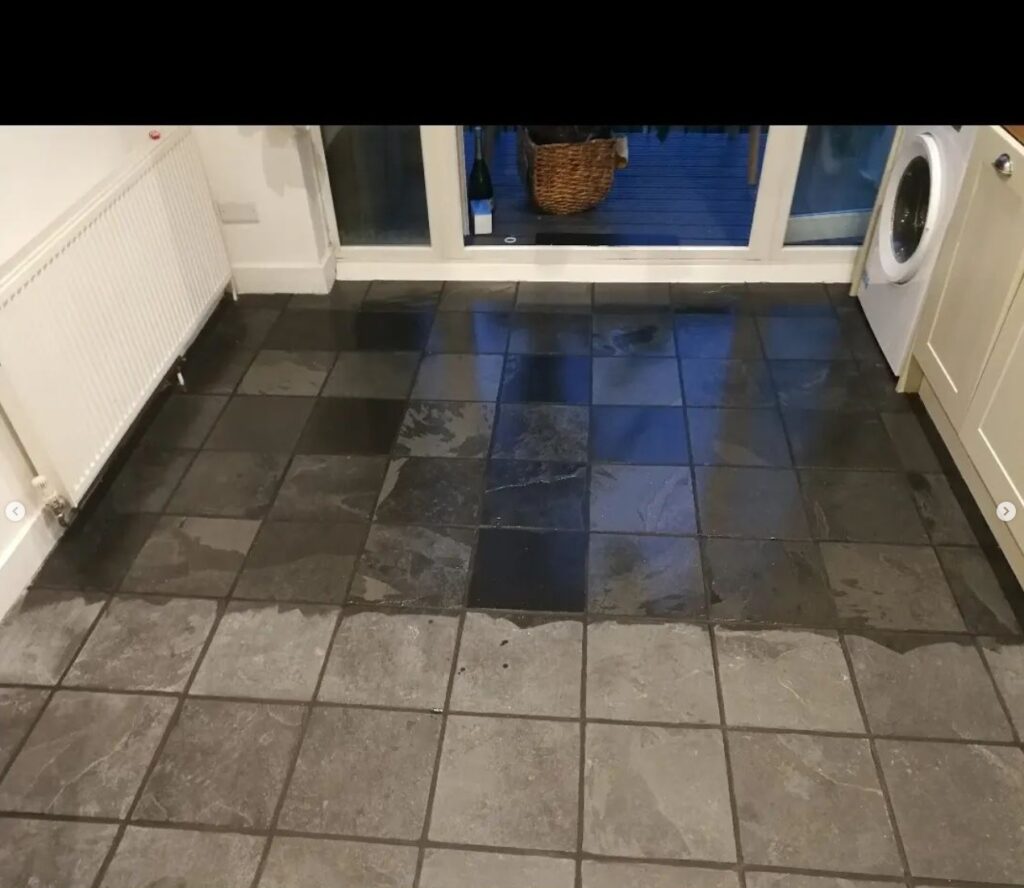
I used a strong dilution of Pro-Clean to do this, spraying it onto the floor and leaving it to soak in for ten minutes and break down the dirt etc. Then using a black scrubbing pad fitted to a heavy rotary buffer machine it was worked into the Slate to release the dirt and old sealer. The floor was then rinsed with water and the soiling extracted with a wet vacuum.

The pads can struggle to get into the corners and edges of the floor and the recesses of the grout line. So, to complete the cleaning a handheld scrubbing brush was used and a wire brush run along the grout lines, again with more Tile Doctor Pro-Clean. After another rinse and extraction with the wet vacuum the floor was left to dry aided with a couple of floor blowers.

Grout Colouring and Sealing Black Slate Tiled Kitchen Floor

Once dry the grout was coloured with a Black Tile Doctor grout colourant which is basically painted onto the grout with a small brush and any excess wiped off the tile. This grout colourant gives the grout a uniform appearance and adds an impenetrable barrier over the grout sealing it in and keeping it safe from further staining. Keeping grout clean in a kitchen is always a problem so the colourant will protect it and make it very easy to clean.

Black Slate During Cleaning Grout Colouring Tooting

The last step was to seal the Slate for which I used Tile Doctor X-Tra Seal. This was chosen because it’s an impregnating oil-based sealer that will restore the beautiful dark colour in the stone. Impregnators work by occupying the tiny pores in the stone thereby forcing dirt to remain on the surface where they can easily be cleaned away.

Black Slate During Sealing Tooting

In the subject of maintenance cleaning, I recommend the use of Tile Doctor Neutral Tile Cleaner which is a gentle but effective cleaner that won’t harm the sealer. Many of the floor cleaning products you find in supermarkets etc are not for use on sealed stone, they contain strong chemicals such as bleach etc which will strip off the sealer prematurely so best avoided.

Black Slate After Renovation Tooting


Professional Renovation of Black Slate Tiled Kitchen Floor in South London

Black Slate Tiled Kitchen Floor Renovated in Tooting Read More »

Small Quarry Tiled Kitchen Floor Renovation Purley

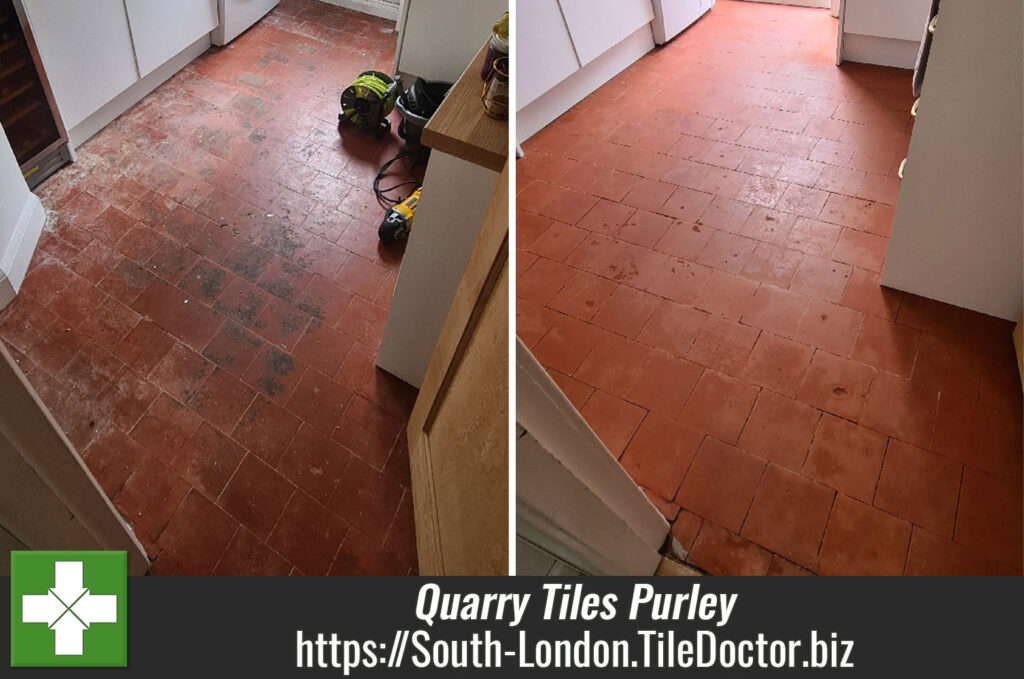
30-Year-Old Laminate Floor Removed to Reveal Heavily Stained Quarry Tiles

The photos below are of a Quarry tiled floor situated in a small kitchen at a house in Purley. The quarry tiles were previously covered in laminate for about 30 years which had recently been removed. This left the floor in quite a state as you can see from the photograph below. The floor was stained with numerous deposits including paint and adhesive and some sort of wax covering which was all over the surface.

Small Quarry Tiled Kitchen Floor Before Renovation Purley

Cleaning a Quarry Tiled Kitchen Floor

Before cleaning I covered the entire kitchen in a drop cloth to protect the units from splashing, I normally remove the kick boards as part of this process however, in this case the bottom of the units were already siliconed to the tiles. This is good practice as otherwise the boards which are usually made of MDF can soak up the water used during cleaning and warp the boards.

Next, I tackled the staining, surface paint, adhesive and wax using a strong dilution of Tile Doctor Remove & Go combined with Tile Doctor Pro-Clean to make a double strength stripper and cleaner. This was applied to the tiles and grout, and then left to soak in for ten minutes. I used a floor scraper to dislodge the glue which had been softened by the solution and then removed using a wet vacuum. The next step was to scrub the floor with a carbide brush and a coarse 200-grit diamond pad using only water to lubricate the process.

Once this was done, I rinsed the floor with water and extracted the slurry with the wet vacuum and allowed it to dry.

Sealing a Quarry Tiled Kitchen Floor

Once the floor was dry, I returned to protect the tiles by applying Tile Doctor Colour Grow sealer. This is an impregnating sealer that works by soaking into the pores of the quarry tiles occupying the spaces within and thereby preventing dirt from becoming ingrained and making it much easier to clean. Tile Doctor Colour Grow also contains a colour enhancer that works well on Quarry tiles as it brings out the red colours in the tiles. Two coats of the sealer were applied allowing thirty minutes between coats.

I recommended the use of Tile Doctor Neutral Tile Cleaner for ongoing maintenance. This is a pH neutral product which is mild enough to use every day, gentle on the floor and will ensure the newly applied sealer will stay in place and the floor will continue to look great.

Small Quarry Tiled Kitchen Floor After Renovation Purley

The result was transformational, and it certainly impressed my customer who left the following 5 star feedback.

“Daniel and his team were amazing! Extremely professional, thorough, and undeniably delivered an excellent end result for my old and tired tiles. So impressed! I would most certainly use this service again. By Sarah, Purley, 12 June 2023”
 

Professional Renovation of a Quarry Tiled Kitchen in South London

30-Year-Old Laminate Floor Removed to Reveal Heavily Stained Quarry Tiles Read More »

╳
Scroll to Top