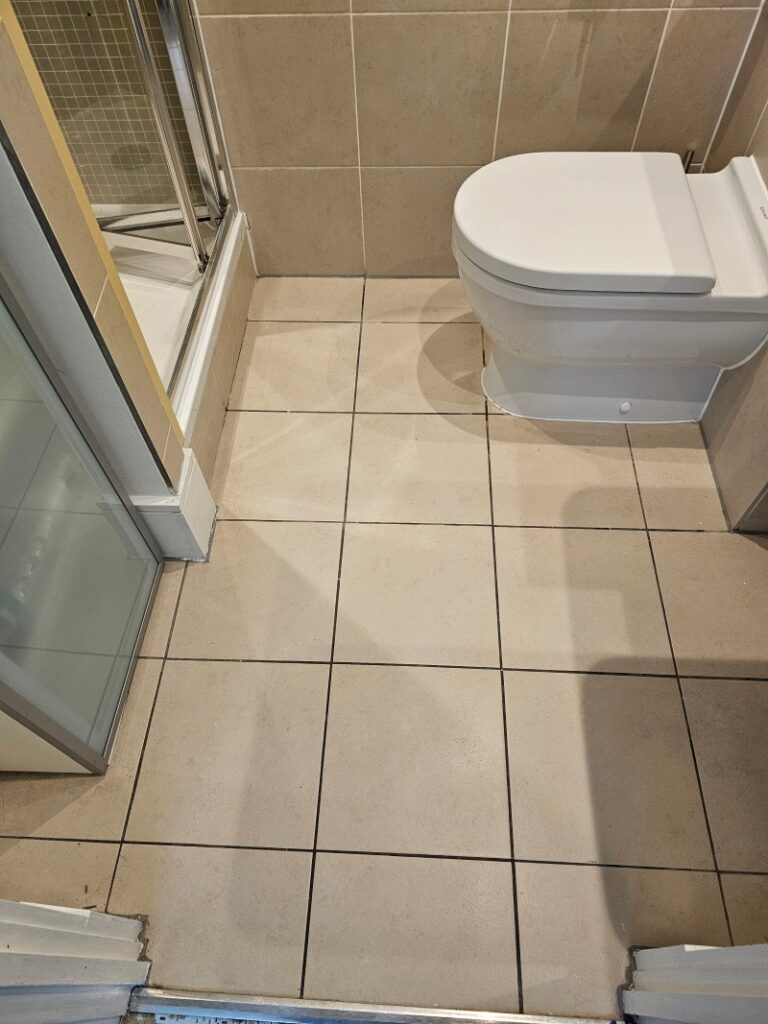
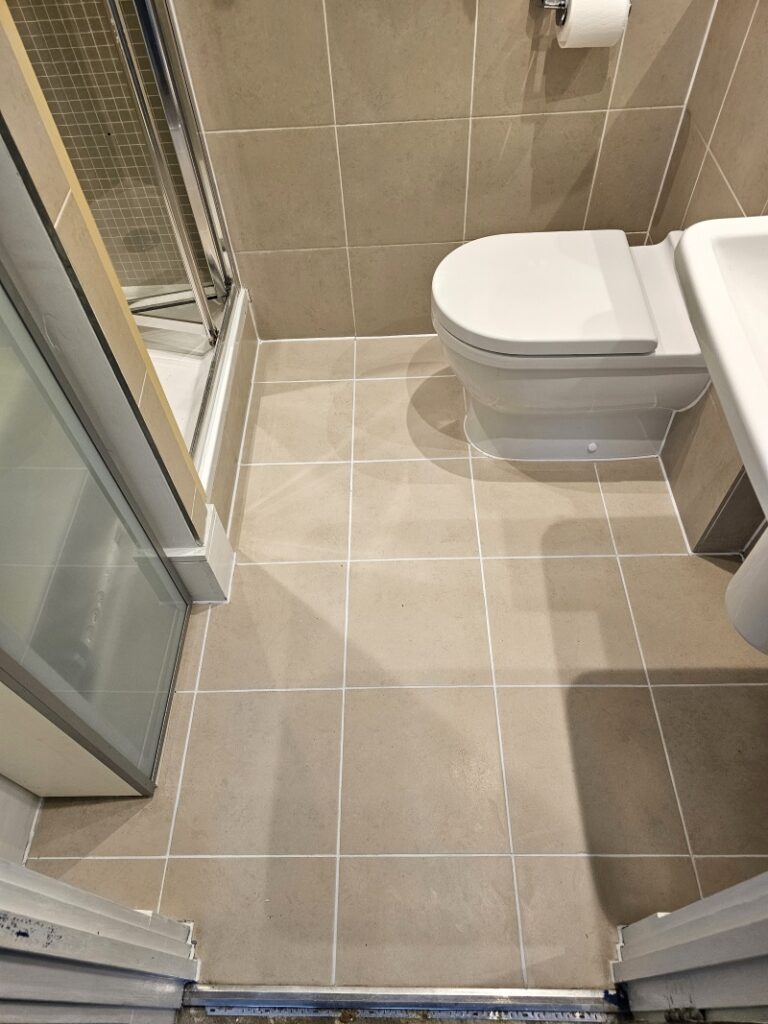
Stained Limestone Tiled Shower Cubicle Renovated at Isleworth Rental
Here we have a Limestone tiled shower cubicle with fifteen years of chemical damage and general grime at a rental property in the Hounslow borough of Isleworth. It had never been professionally cleaned since installation and previous tenants had used Viakal limescale remover.

Limescale removers like Viakal are acidic with a low pH and will etch natural stone such as Limestone so definitely not recommended. The product states to avoid use on natural stone on the label, which in this case was ignored.
Fortunately, there is a solution however it involves using various grades of diamond burnishing pads to cut back the stone to remove the damage and restore its appearance. I worked out a quote for renovating the stone and cleaning the grout which was equally stained. Happy to have found a solution and keen to have the shower cubicle ready for the next tenant I was asked to go ahead,
Shower Tile and Grout Cleaning
I started off by cleaning the grout with a wire brush and Tile Doctor Pro-Clean. Unfortunately, the grout was so bad it couldn’t get it consistently clean so decided to apply a grout colourant on it later.
Next attention turned to resurfacing the Limestone starting with the application of a 400-grit 6-inch pad fitted to a DeWalt machine. The pads are applied with water for lubrication and are designed to resurface the stone to remove the etching. I very quickly realised however the 400-grit wasn’t having the desired effect so I dropped down to a 200-grit pad, this also didn’t work so I went down to a 100-grit. This did the job and the Limestone started to show improvement.
The 100-grit pad was then run across the all the effected Limestone again using water for lubrication. Once done the tiles were rinsed with water to remove and the pad switched for a 200-grit. This process was then repeated working through increasingly finer pads of 400, 800 and then finally 1500-grit.
Once the whole shower was burnished in this was the remaining water was vacuumed away with a Hyundai wet vac and the shower left to dry with a fan in place. When I came back, I checked the results of the burnishing and realised there were still visible marks on some of the Limestone tiles and so repeated the process starting with the 400-grit pad and up; eventually after around 6-7 hours I had the desired finish.
Sealing Limestone Shower Tiles
A lot of water was used during the burnishing so I left the shower to dry overnight and added the finishing touches the following day. This included cutting out the silicone sealant and sealing the stone with Tile Doctor Ultra-Seal. I wanted to keep the stone light so decided against using a colour enhancer.
After allowing two hours for drying the last steps were to colour the grout using one of Tile Doctor’s Grout Colourants in a Limestone colour and then apply fresh silicone mastic around the edges.

This was the hardest job I’ve done so far but the result was worth it. The shower cubicle looked like a new installation and my customer was very happy with the result; they had very low expectations and this far surpassed them.
Professional Stone Tiled Wet Room Renovation in Berkshire
Stained Limestone Tiled Shower Cubicle Renovated at Isleworth Rental Read More »