Work by Location

South-West-London-Tile-Doctor

Welcome to my Work History archive where you will find detailed examples of Tile, Grout and Stone Cleaning and renovation work carried out within South West London.

I have organised the posts by the most populous locations throughout South West London, if I haven’t listed your location do get in touch, Tile Doctor covers the whole country so if I can’t cover it there’s a good chance one of my colleagues can.

Local towns and villages I cover include: Ashford, Brentford, Colinbrook, Cranford, Egham Hythe, Feltham, Heathrow, Harmondsworth, Hampton, Hampton Court, Hounslow, Hobbledown Heath, Hampton Wick, Heston, Isleworth, Kingston Upon Thames, Kingstone Upon Thames, Littleton, Laleham, Lampton, Molesey, Petersham, Richmond, Stanwell Moor, Stanwell, Staines-upon-Thames, Shepperton, Surbiton, Staines, St Margarets, Teddington, Twickenham, Teddington, Upper Haliford

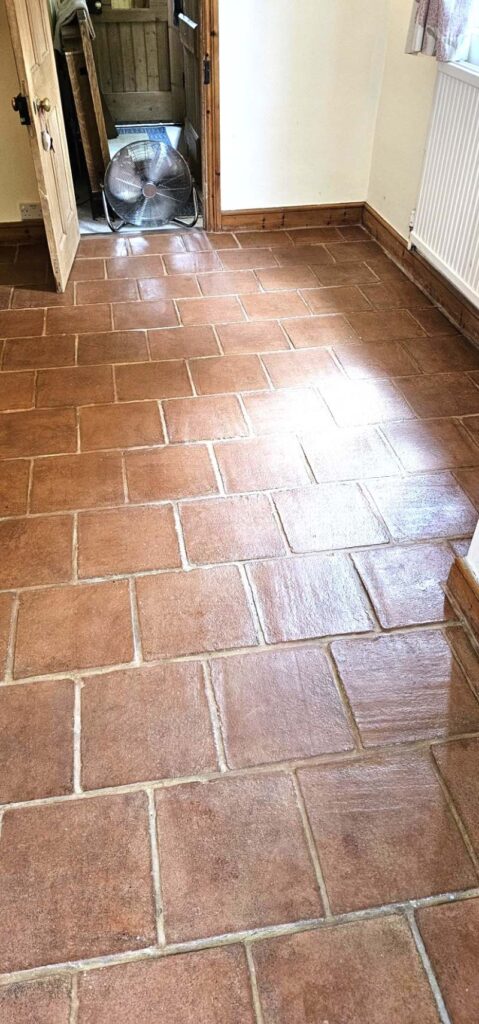
Terracotta Tiled Kitchen Floor Renovation Richmond

Deep Cleaning a Filthy Terracotta Tiled floor in Richmond

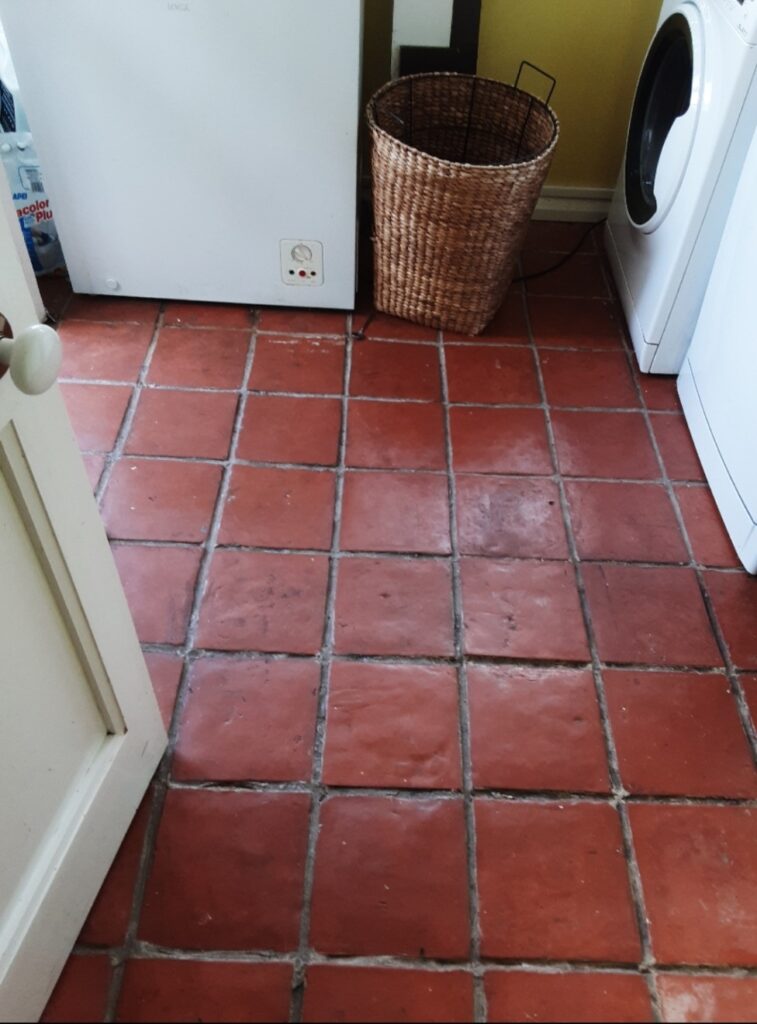
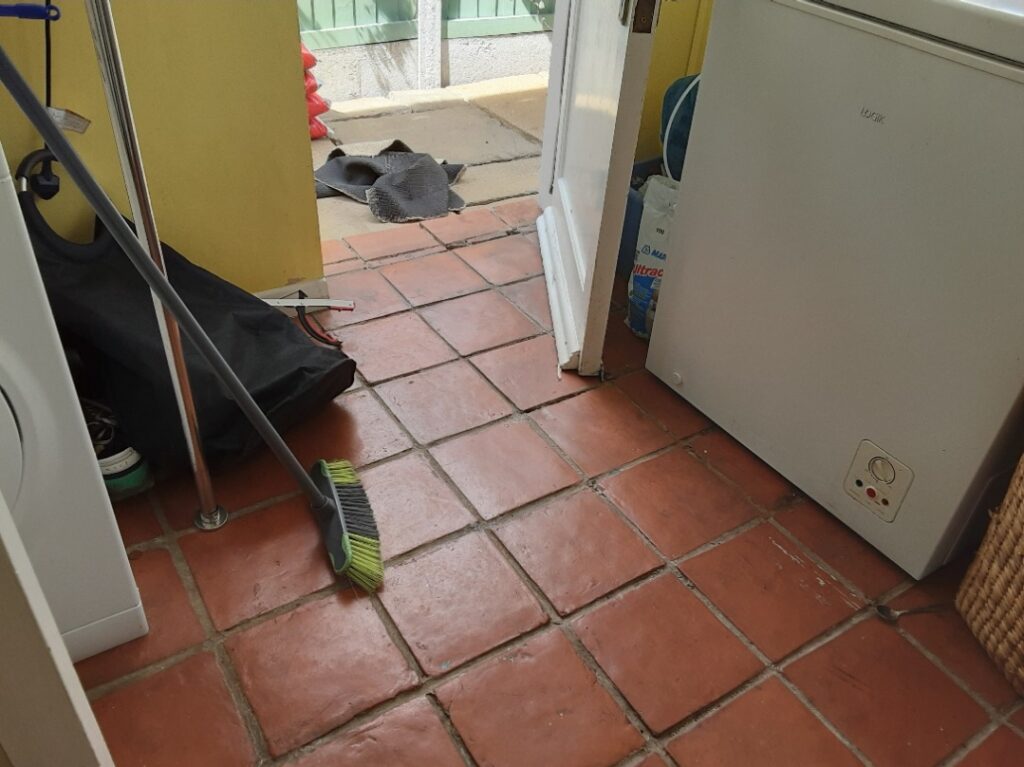
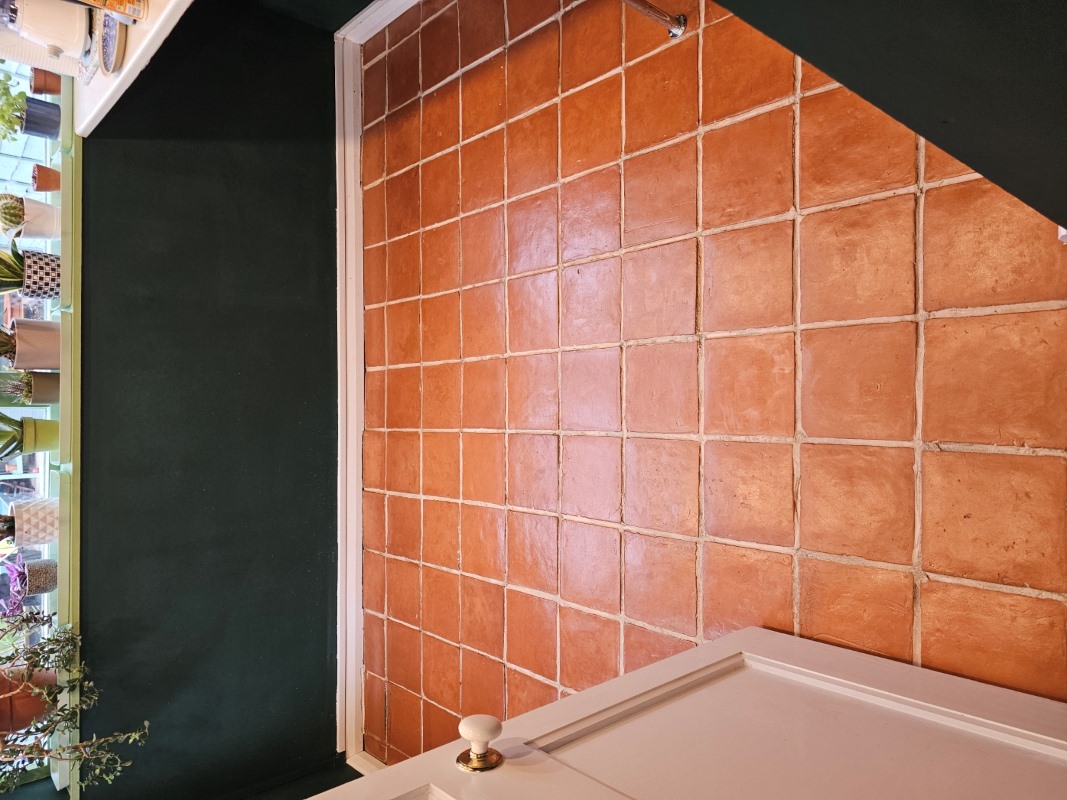
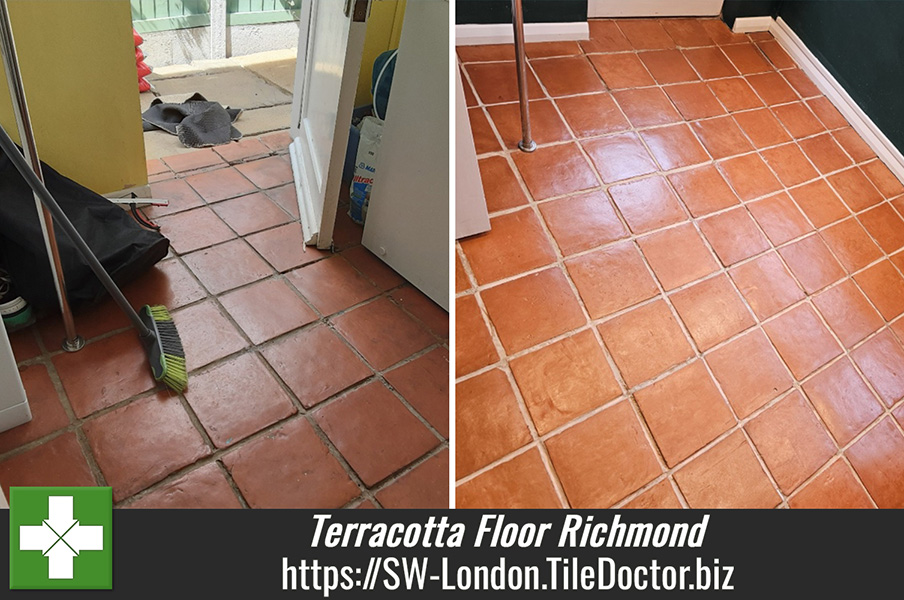
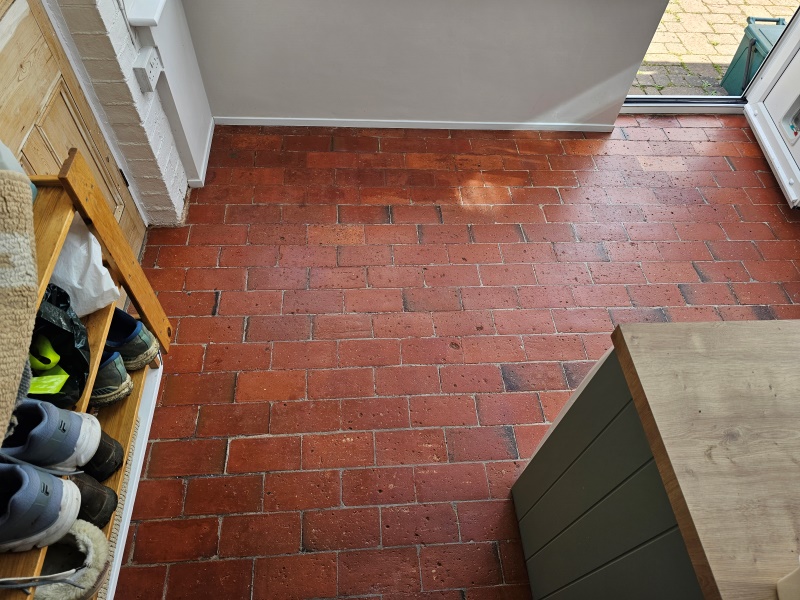
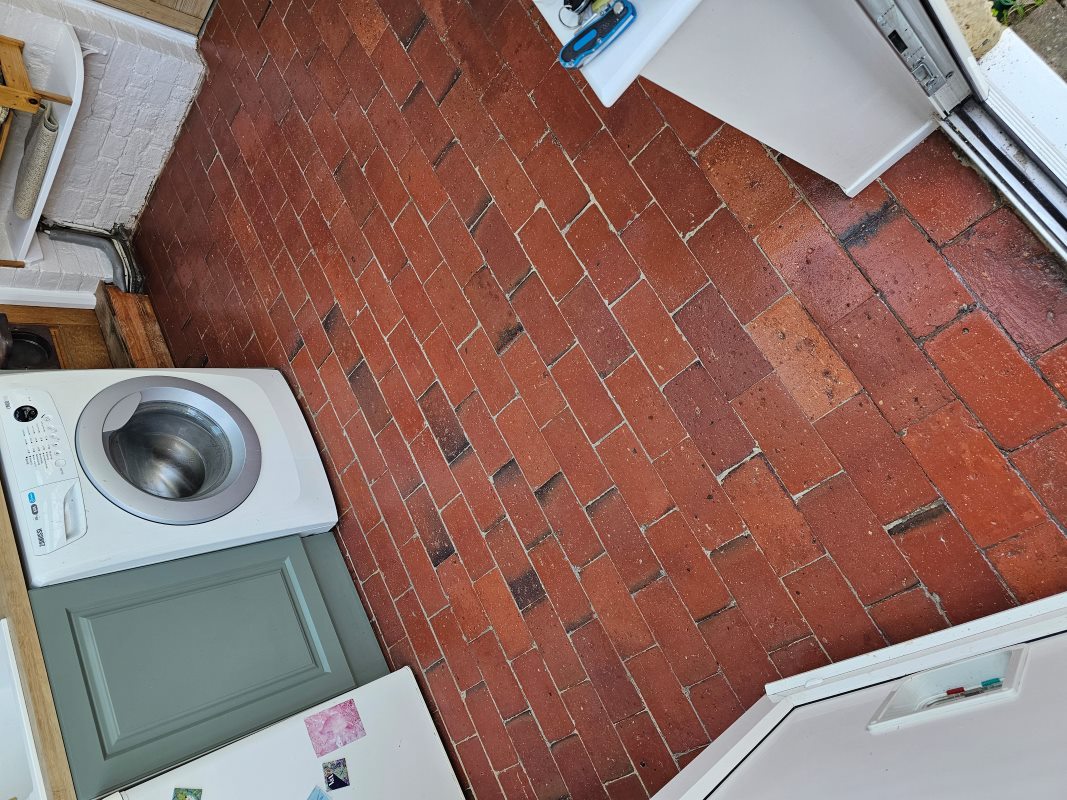
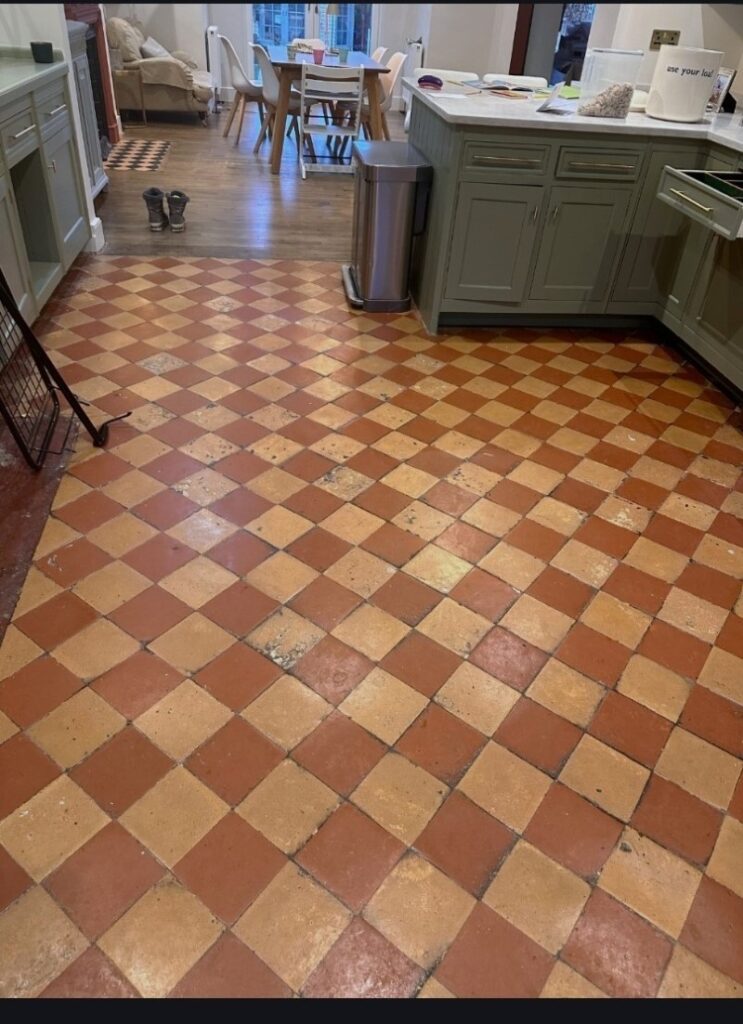
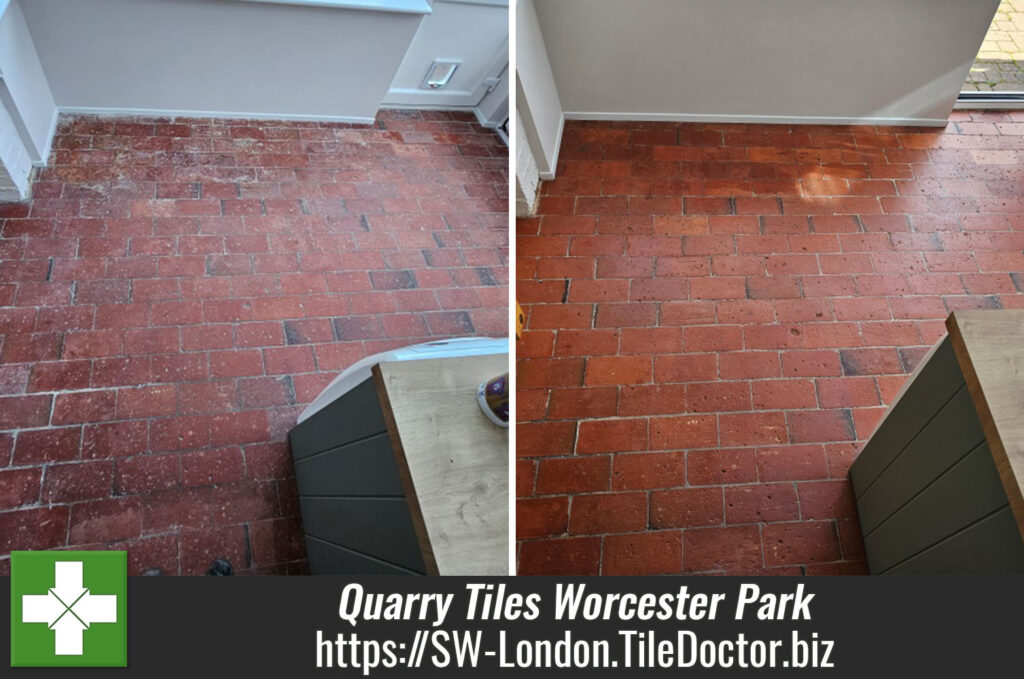
This Orange and Red Terracotta tiled floor at property near Richmond was absolutely filthy and proved to be a real challenge to get clean. It clearly hadn’t been professionally cleaned for some time and when I went to do the survey, I could see a build-up of grease and old sealer throughout.

Due to its porosity Terracotta is particularly vulnerable and to keep its appearance the sealer needs to be maintained correctly as it will wear in the busiest areas with use. In this case I was able to re-assure the homeowner that I would be able to strip off all the old layers of sealer, deep clean the tiles and re-seal to leave it looking like a new floor.

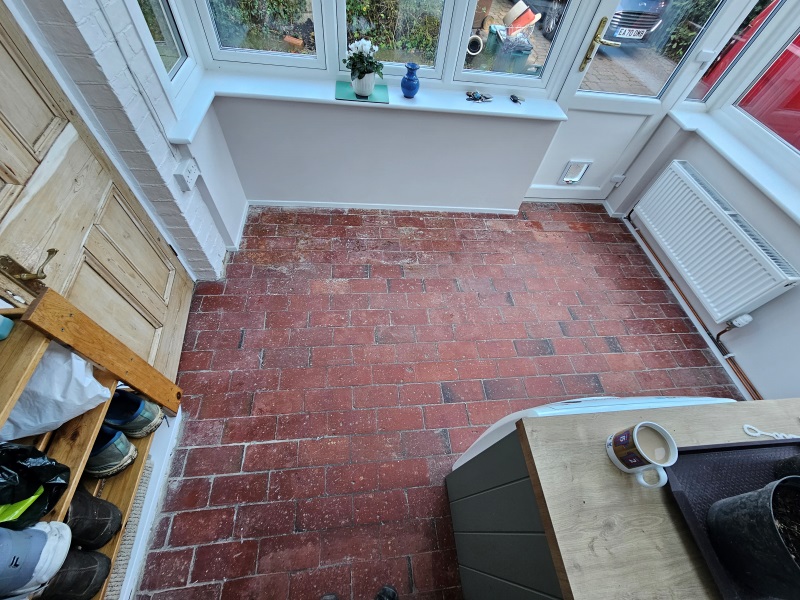
Terracotta Tiled Kitchen Floor Before Cleaning Richmond

Happy with my quote I got the go-ahead and we agreed a date to start the work which should take two days, one to strip and clean and the other to seal.

Removing Sealer and Cleaning a Terracotta Tiled Kitchen Floor

To strip the sealer off the Terracotta floor I applied a strong dilution of Tile Doctor Remove and Go which is a powerful alkaline coatings remover that’s safe to use on Tile and Stone. The solution was sprayed on to the kitchen floor and then left to soak in for fifteen minutes to give it time to break down the sealer and soils.

I then inspected the floor and could see a lot more work would be needed to get it completely free of old sealer and dirt. As a result, there was nothing for it but to get down on my knees scrapping everything off the tiles with more Remove and Go. I found most of the old sealer and grease just flaked off but some areas were difficult. I had some assistance from a DeWalt handheld buffing machine fitted with a stiff brush but it was still very hard work, especially around the edges of the kitchen as my hands barely fit underneath the units.

After about six hours I was satisfied everything was removed and I could turn my attention to the grout. For this I hand scrubbed the grout lines using a strong dilution of Tile Doctor Pro-Clean rinsing and extracting as I went.

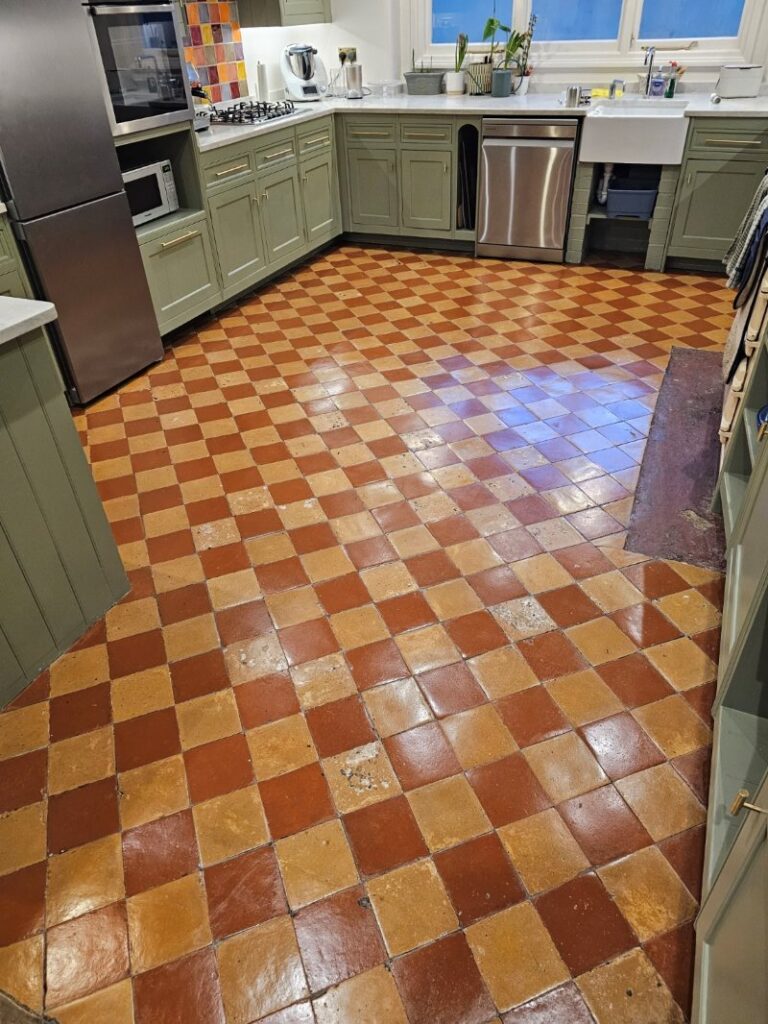
Terracotta Tiled Kitchen Floor During Renovation Richmond

Last step in the cleaning process was to treat the tiles to an acid wash which will further clean the tiles and equalise the floors pH level after the use of alkaline cleaners earlier. I used Tile Doctor Grout Clean-Up for this which was first scrubbed in, then rinsed with water and extracted as before. The floor was rinsed down again two more times with water to remove any trace of product. I used the wet vacuum used to extract as much moisture from the floor as possible so it can have a better chance of drying out overnight.

Sealing a Terracotta Tiled Kitchen Floor

When I called back seal the Terracotta, I first checked the moisture readings in several areas with a damp meter to verify the floor was nice and dry. All was well so several coats of a Tile Doctor Seal and Go Extra were applied to the floor allowing forty minutes drying time between coats.

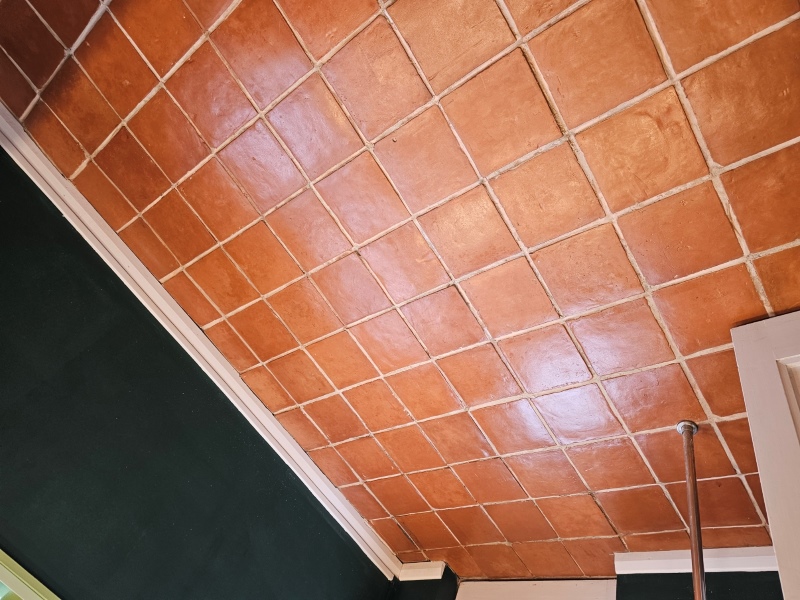
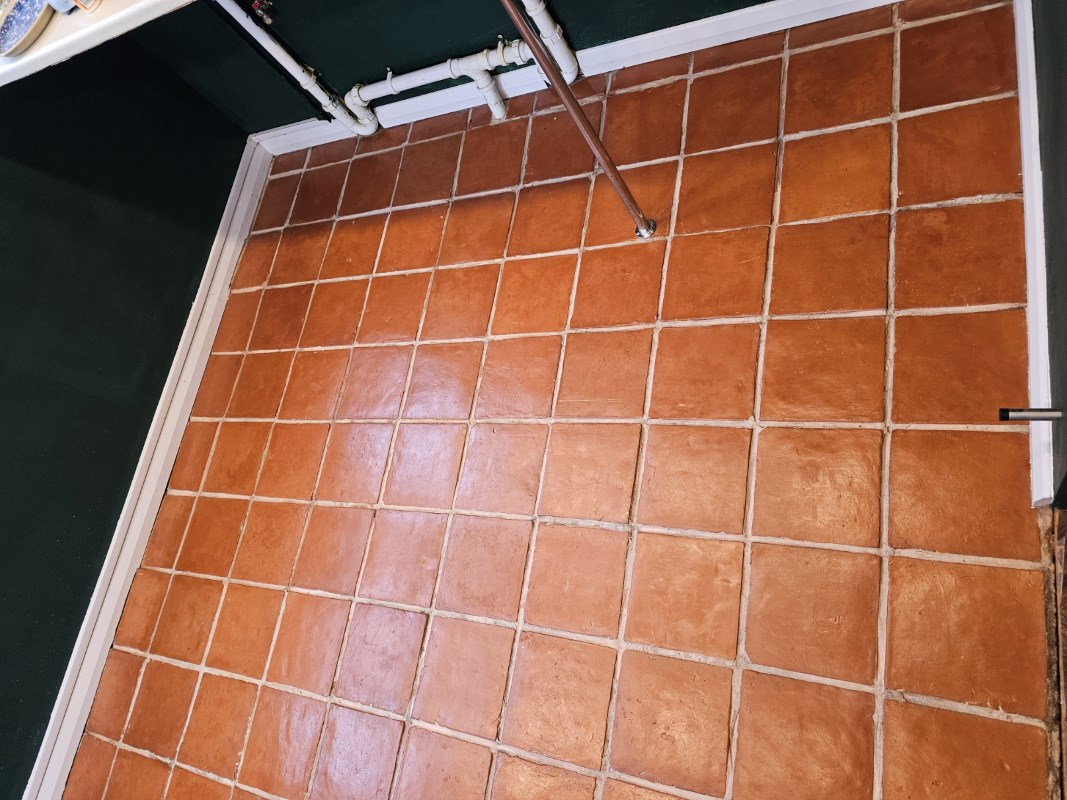
The new sealer left the now clean Terracotta tiles with an attractive mid satin finish and
looked fantastic and was doubly improved by the grout cleaning which had responded well to the Pro-Clean. The customer was very pleased with the transformation in their floor which now looked clean and bright.

Terracotta Tiled Kitchen Floor After Renovation Richmond

Before leaving we left the customer with a bottle of Tile Doctor Neutral cleaner for aftercare. To get the best from their Terracotta tiles it’s important that customers use the correct product for regular maintenance cleaning from the start, stronger products will reduce the life of the sealer.


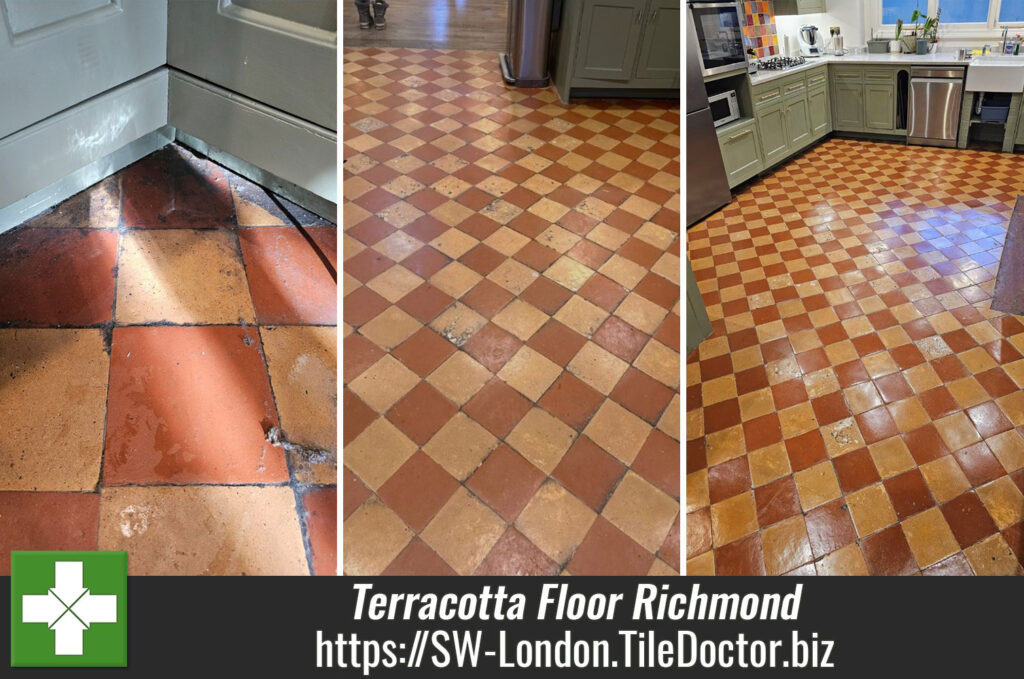
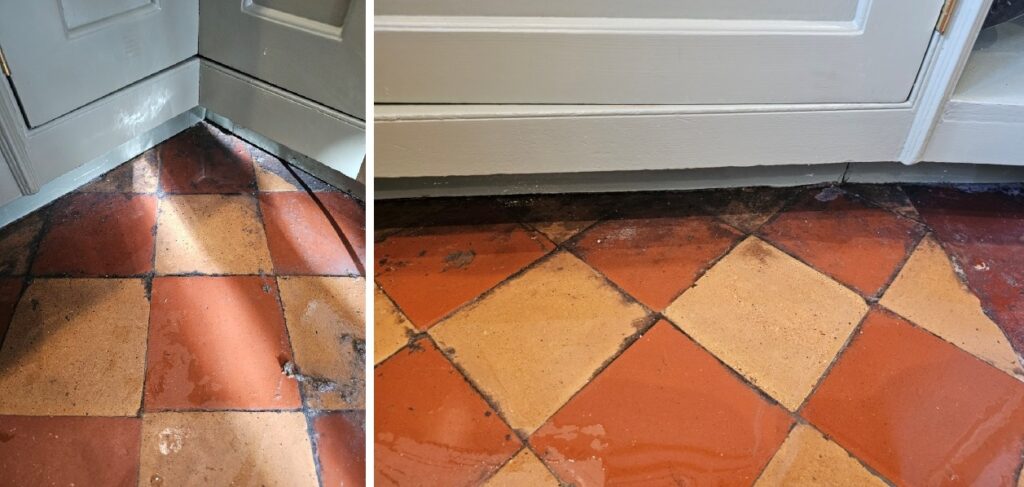
Professional Clean and Seal of a Mexican Terracotta Tiled Kitchen in Cumbria

Deep Cleaning a Filthy Terracotta Tiled floor in Richmond Read More »

Dull Marble Kitchen Countertop Polishing Surbiton

Restoring the Polish to a Marble Kitchen Countertop in Surbiton

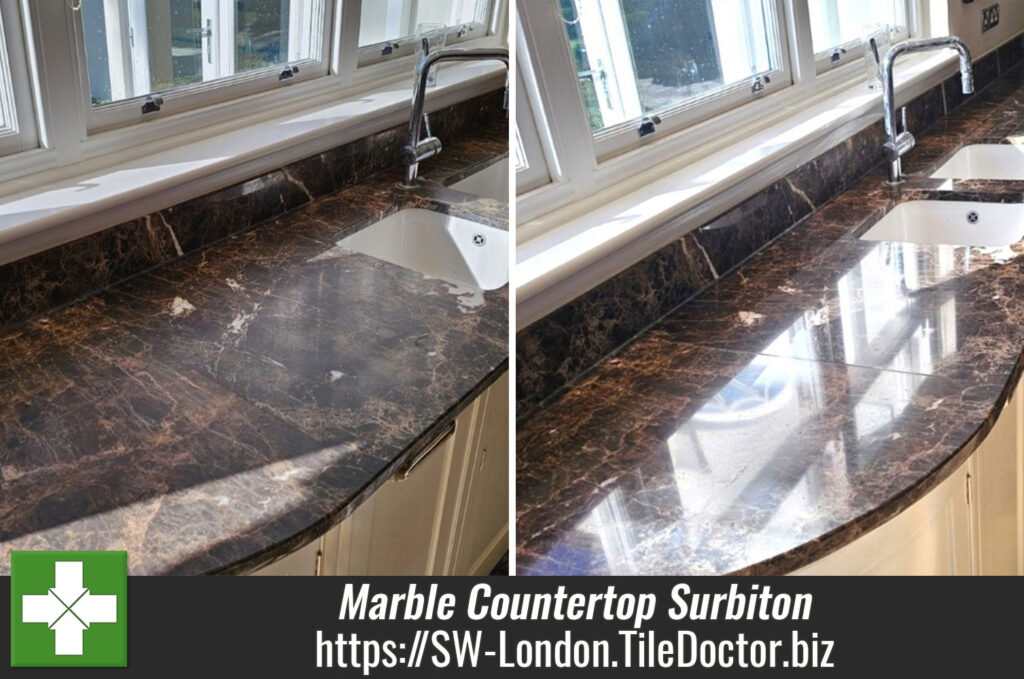
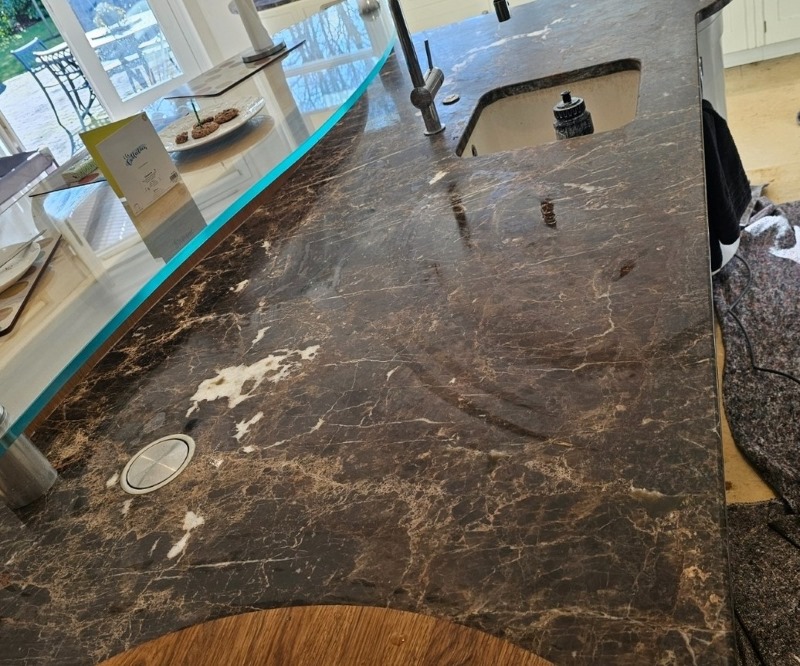
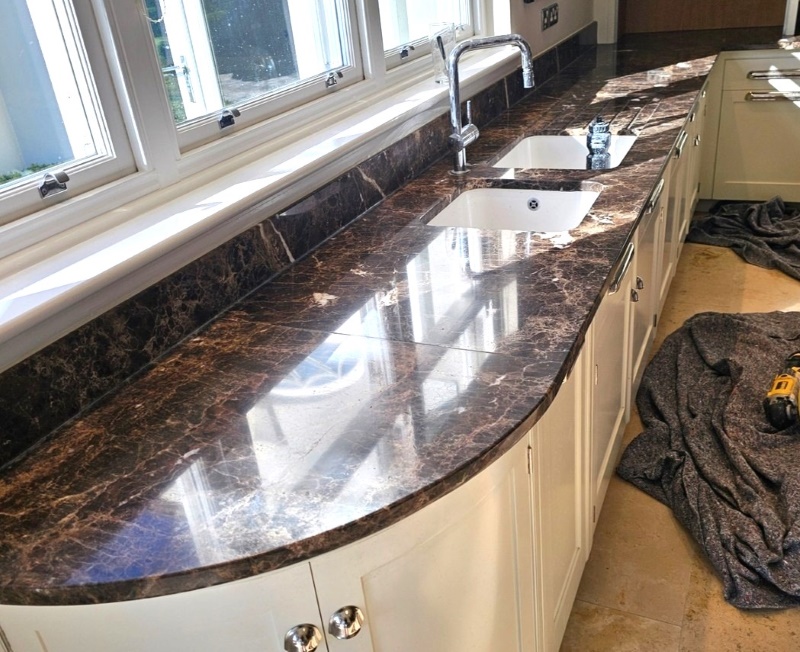
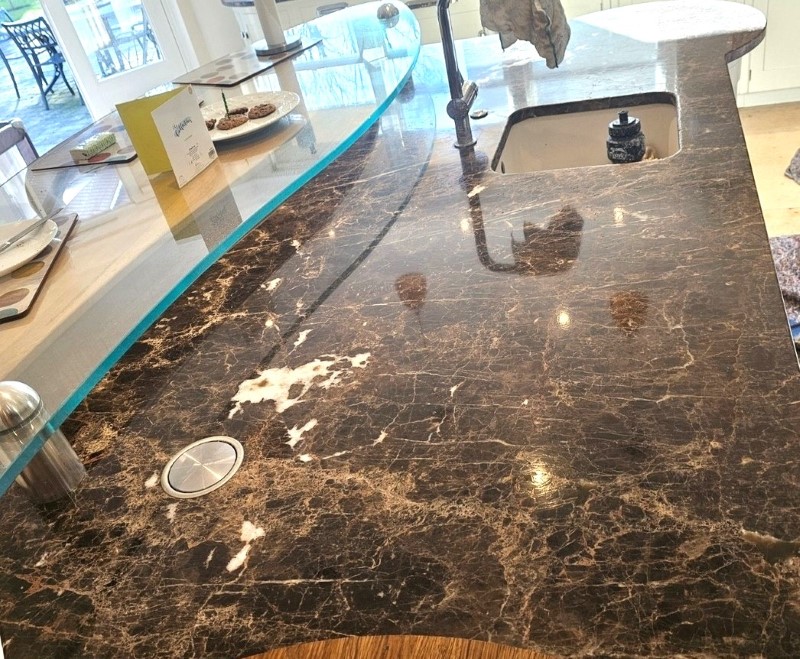
Whilst I was working on a stone floor at a property in Surbiton I was asked if I could do anything about the Marble Countertops in the Kitchen. The Marble had almost completely lost its shine and the owner was keen to have those re-polished to finish the kitchen renovation.

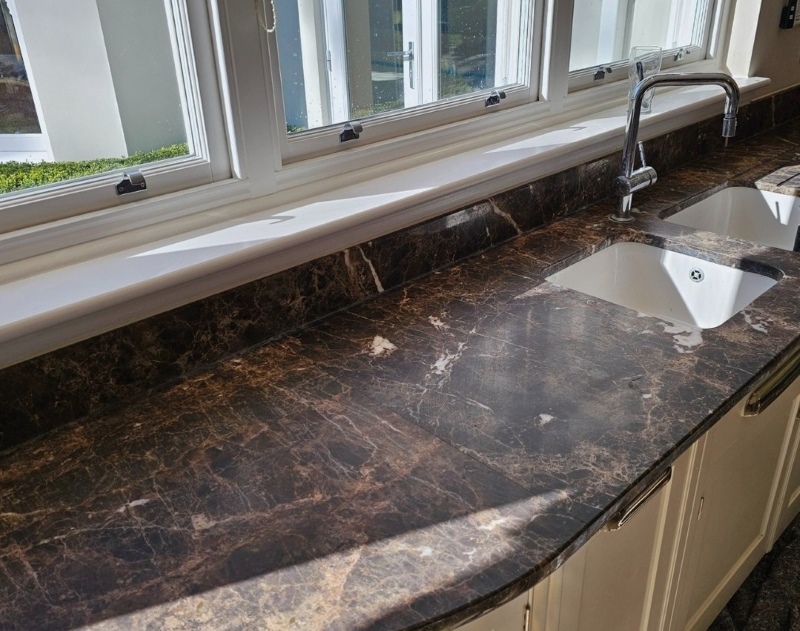
Dull Marble Kitchen Countertop Before Polishing Surbiton

Fortunately, the methods and products we use to renovate stone floors can also be used to restore stone worktops as well. The only difference being we can’t use 17” floor buffers on worktops and countertops so for those we source smaller 6” pads.

The countertop had been worked on before by a different company previously but they had done a horrible job. Bu the time I was asked to look at it the Marble was very dull and covered in different marks, staining from acidic food and lots of etching.

Dull Marble Kitchen Countertop Before Polishing Surbiton

Polishing a Marble Kitchen Countertop

First thing we did was to cover the kitchen in drop cloth and grey blankets to stop the slurry that’s generated during polishing dripping onto the stone floor below.

I then worked through a set of Diamond encrusted Burnishing pads fitted to a handheld DeWalt machine. The pads are applied to the Marble in sequence from 400 to 1500 grit using water for lubrication and then the waste is extracted after each pad using a small Numatic wet vacuum. I inspected the stone after the first pass through the pads and decided it could be better so started again working my way back up through the pads. You can see from the photographs there was a lot of Marble worktop to cover so this did take some time.

Sealing a Marble Countertop

I then left the stone to dry overnight and returned the following day to finish the job starting with a damp test on an electronic moisture meter which showed the Marble was dry.

To bring up a deep shine on the Marble the countertop was given a final polish with a very fine 3000 grit pad using a little water sprayed onto the surface. This final pad adds a nice deep shine to the stone and although it leaves the surface dry, I left an air blower running for a while to make sure.

Later that day I applied a few very fine coats of Tile Doctor X-Tra Seal and gave the surface another buff with a microfiber cloth. This sealer is an impregnator that soaks into the pores of the Marble preventing contaminants from becoming ingrained there and ensuring they remain on the surface where they can easily be cleaned away. Being an oil-based sealer, it really helped to bring out the beauty and colour of the Marble.

Dull Marble Kitchen Countertop After Polishing Surbiton

For the aftercare of stone worktops, we recommend the use of Stone Patina Spray which is a spray-and-buff cleaner that is designed to enhance the natural beauty and lustre of polished stone as it cleans.

Dull Marble Kitchen Countertop After Polishing Surbiton


Professional Restoration of a Marble Kitchen Worktop in South London

Restoring the Polish to a Marble Kitchen Countertop in Surbiton Read More »
Limestone Floor Polishing Surbiton

Large Limestone Floor Cleaned, Polished and Sealed in Surbiton

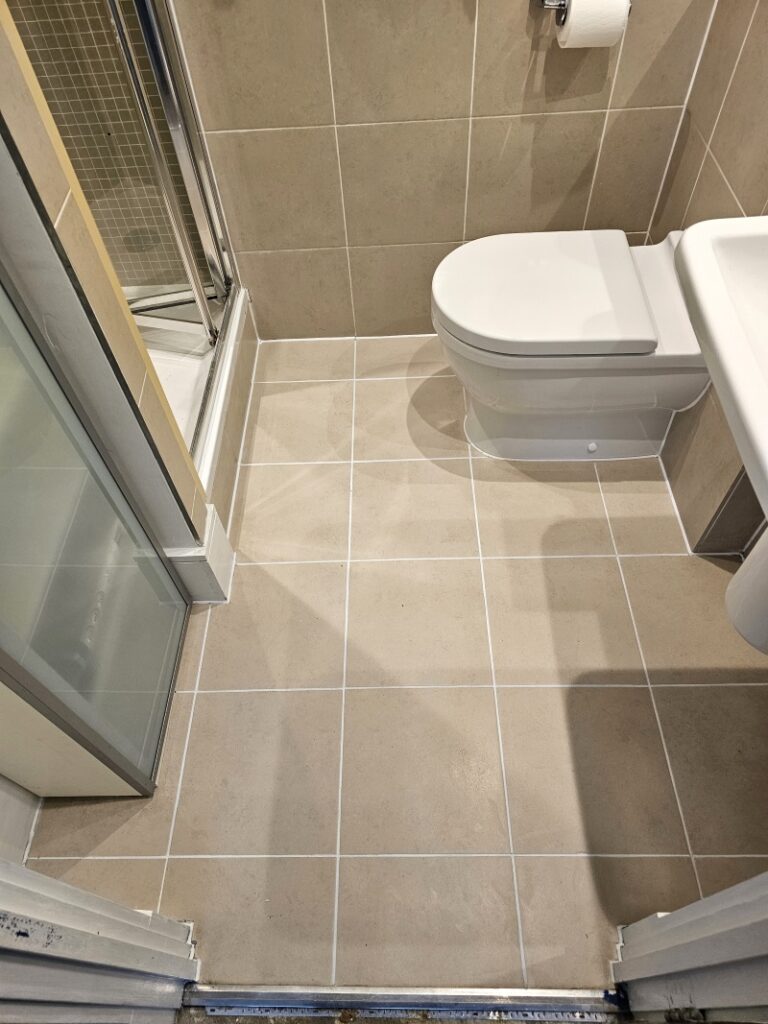
This large Limestone tiled floor at a property in Surbiton had been recently maintained by a cleaning company who didn’t do a thorough job. They hadn’t done anything to improve the polish on the Limestone and unfortunately stripped off the original sealer during cleaning leaving it vulnerable to ingrained dirt.

Limestone Floor Before Cleaning Surbiton Limestone Floor Before Cleaning Surbiton

The stone floor now looked very flat and lifeless and I was asked to do the job properly, including deep cleaning the grout, polishing the stone and finally replacing the sealer.

Stripping and Polishing Tumbled Limestone Tiles

I started work by focusing on the grout which had become darkened with dirt. For this I applied a strong dilution of Tile Doctor Pro-Clean along the grout lines, left it to soak in for a few minutes and then worked it in with a wire brush. This process turned the grout from Black back to White and the dirt was rinsed off with water and extracted with a wet vacuum.

Limestone Floor During Cleaning Surbiton Limestone Floor During Grout Cleaning Surbiton

The next step was to burnish the stone using a set of Diamond encrusted pads of increasing grits that range from a coarse 400-grit to a very fine 3000-grit. The pads are fitted to the rotary machine and are run across the whole floor lubricating with water which darkens as the dirt is lifted out of the stone. Each pad is moved slowly across the floor with the machine leaving small rings on each pass. The floor is then rinsed and all the slurry with a wet vacuum after each pad.

It was a large floor that extended from the hallway into the Kitchen so it took some time to cover every section thoroughly. I stopped one the 1500-grit pad had been applied and after another rinse and extraction left the floor to dry off overnight.

Sealing Limestone Tiles

I returned the next morning and set about sealing the floor with Tile Doctor Ultra-Seal which is an impregnating natural look sealer that soaks into the pores of the Limestone protecting it from within. The sealer will ensure any dirt remains on the surface where it can be easily cleaned away.

I left the sealer to dry for an hour before polishing the floor with the last in the set of burnishing pads which is a 3000-grit pad. I covered every angle of light to make sure I’d left no smudges anywhere. This pad is applied with only a little water sprayed on to the stone as its run over the surface, this technique is known as a spray burnish and leaves the floor dry.

Limestone Floor After Polishing Surbiton

Before leaving I took time to discuss aftercare cleaning which for polished stone floors, I recommend Tile Doctor Stone Soap which not only cleans but also help maintain the patina on polished stone.

Limestone Floor After Polishing Surbiton


Professional Renovation of a Large Polished Limestone Floor in South London

Large Limestone Floor Cleaned, Polished and Sealed in Surbiton Read More »
=================================

South West London Tile Doctor

================================= Read More »
Scroll to Top