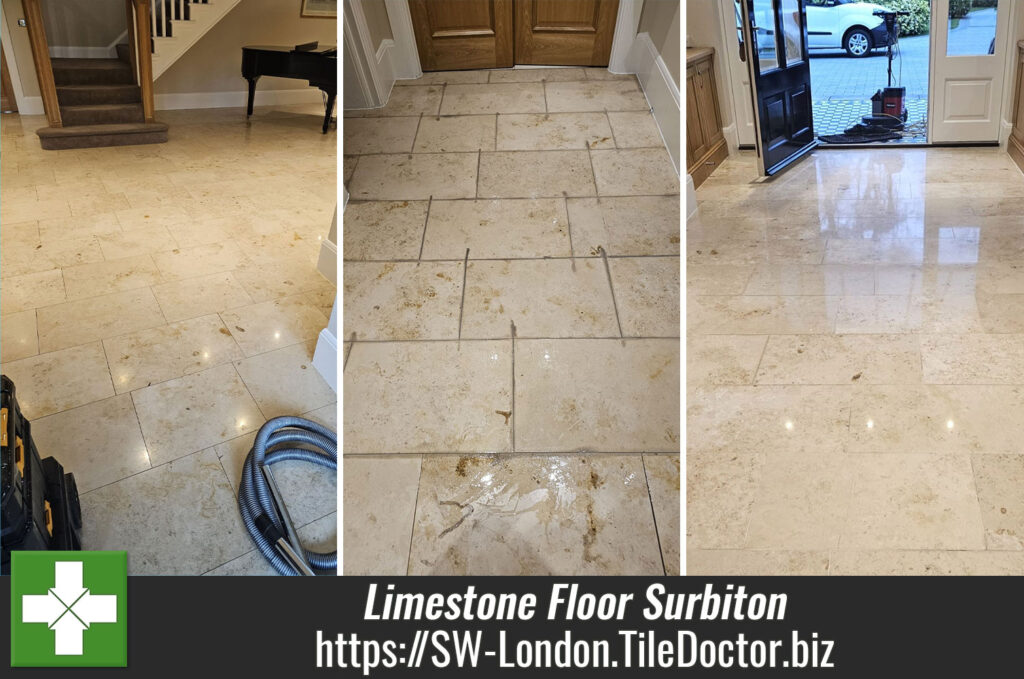
Large Limestone Floor Cleaned, Polished and Sealed in Surbiton
This large Limestone tiled floor at a property in Surbiton had been recently maintained by a cleaning company who didn’t do a thorough job. They hadn’t done anything to improve the polish on the Limestone and unfortunately stripped off the original sealer during cleaning leaving it vulnerable to ingrained dirt.
 |
 |
The stone floor now looked very flat and lifeless and I was asked to do the job properly, including deep cleaning the grout, polishing the stone and finally replacing the sealer.
Stripping and Polishing Tumbled Limestone Tiles
I started work by focusing on the grout which had become darkened with dirt. For this I applied a strong dilution of Tile Doctor Pro-Clean along the grout lines, left it to soak in for a few minutes and then worked it in with a wire brush. This process turned the grout from Black back to White and the dirt was rinsed off with water and extracted with a wet vacuum.
 |
 |
The next step was to burnish the stone using a set of Diamond encrusted pads of increasing grits that range from a coarse 400-grit to a very fine 3000-grit. The pads are fitted to the rotary machine and are run across the whole floor lubricating with water which darkens as the dirt is lifted out of the stone. Each pad is moved slowly across the floor with the machine leaving small rings on each pass. The floor is then rinsed and all the slurry with a wet vacuum after each pad.
It was a large floor that extended from the hallway into the Kitchen so it took some time to cover every section thoroughly. I stopped one the 1500-grit pad had been applied and after another rinse and extraction left the floor to dry off overnight.
Sealing Limestone Tiles
I returned the next morning and set about sealing the floor with Tile Doctor Ultra-Seal which is an impregnating natural look sealer that soaks into the pores of the Limestone protecting it from within. The sealer will ensure any dirt remains on the surface where it can be easily cleaned away.
I left the sealer to dry for an hour before polishing the floor with the last in the set of burnishing pads which is a 3000-grit pad. I covered every angle of light to make sure I’d left no smudges anywhere. This pad is applied with only a little water sprayed on to the stone as its run over the surface, this technique is known as a spray burnish and leaves the floor dry.

Before leaving I took time to discuss aftercare cleaning which for polished stone floors, I recommend Tile Doctor Stone Soap which not only cleans but also help maintain the patina on polished stone.

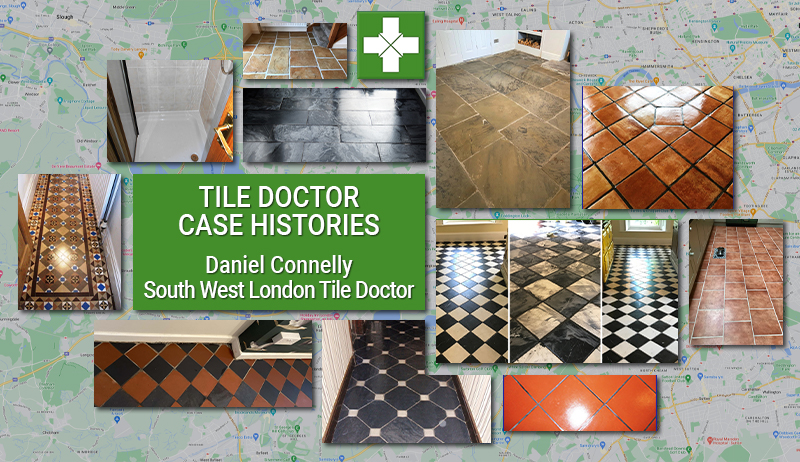
Professional Renovation of a Large Polished Limestone Floor in South London
Large Limestone Floor Cleaned, Polished and Sealed in Surbiton Read More »